Goal
Obtain an accordion and design a plan for hooking up the opto-interruptors to register changes to key presses.
The Problem
Can’t build a MIDI accordion without an accordion! Once you have one, you’ll need to make sure all the keys are in working order. From there, you’ll need to decide how you want to set up the opto-interruptor triggers (which may differ from my personal solution depending on your accordion model and personal preference).
Disclaimer: The accordion is not a standardized instrument - they vary greatly in how they are manufactured, so the inner workings can be different from accordion to accordion. That being said, take this guide with a grain of salt, as not all of these instructions may exactly apply to your model of accordion. Take discretion and seek other accordion repair guides if needed.
Solution
1. Finding an accordion
If you already have an accordion, then you’re good to go. If not, Craigslist and eBay are your friend. Normally if you’re looking for an accordion to play I’d advise against buying one online since you don’t really know what you’re getting - the reeds could be in terrible condition and require significant repair or replacement, the cost of which could far outweigh the value of the accordion itself. Luckily for us, we don’t care what condition the reeds are in because we won’t be using them! Given that we’re replacing the reed blocks with opto-interruptor sensors, you can probably find an accordion in decent mechanical condition (regardless of how it sounds) for a fairly cheap price online, and any minor issues should be easily repairable.
Some things you should be considering when selecting an accordion:
- Bass system: This project assumes the accordion uses a 120-button Stradella bass system, which would also work for a 72 or 96 button accordion. The code and circuit design would have to be modified slightly to support smaller bass systems. If the accordion uses a free-bass system, you’re on your own - good luck!
- Keyboard size: A full-size accordion has a 19 1/4” keyboard, which was one of my personal requirements (but it usually comes with a higher price tag). 17” keyboard accordions are pretty easy to come by on eBay and tend to be cheaper.
- Key condition: Do any of the buttons stick? Are any of the keys broken, out of place, or missing? Unsticking keys is usually pretty easy to do (albeit tedious), and bending bass buttons back into place can be done without much effort, but replacing missing keys or lining up an unlevel keyboard may prove to be a bit more difficult.
- Be sure to ask the seller about this before purchasing! This is probably the most important thing to be looking for; if the seller can’t give you a straight answer, don’t buy it.
- Bellows condition: Are there any leaks in the bellows? Are any of the metal corners missing or cracking? This typically isn’t a deal-breaker, especially if you don’t plan on using the pressure sensor to read volume data from the bellows.
- Tone Chamber: Personally, I would recommend avoiding accordions with a tone chamber. Not only will they be a lot more expensive (for a feature you won’t even be using), but the internal layout is a bit more involved and will likely make it more difficult for you to place the opto-interruptors and/or circuits. Also, if the accordion has a tone chamber it would probably be more deserving of restoration than midi-fication.
- Odor: So even if the accordion appears to be in good condition, storage may have given it a musty smell to it. Typically this is a bad sign for reeds, which are more susceptible to mold and mildew, but it’s not as likely to affect the mechanics of the instrument. A solid cleaning should be able to take away any significant odors. You may also have to replace the straps.
For reference, this is the accordion I finally decided to buy, which I bought on eBay for $150:
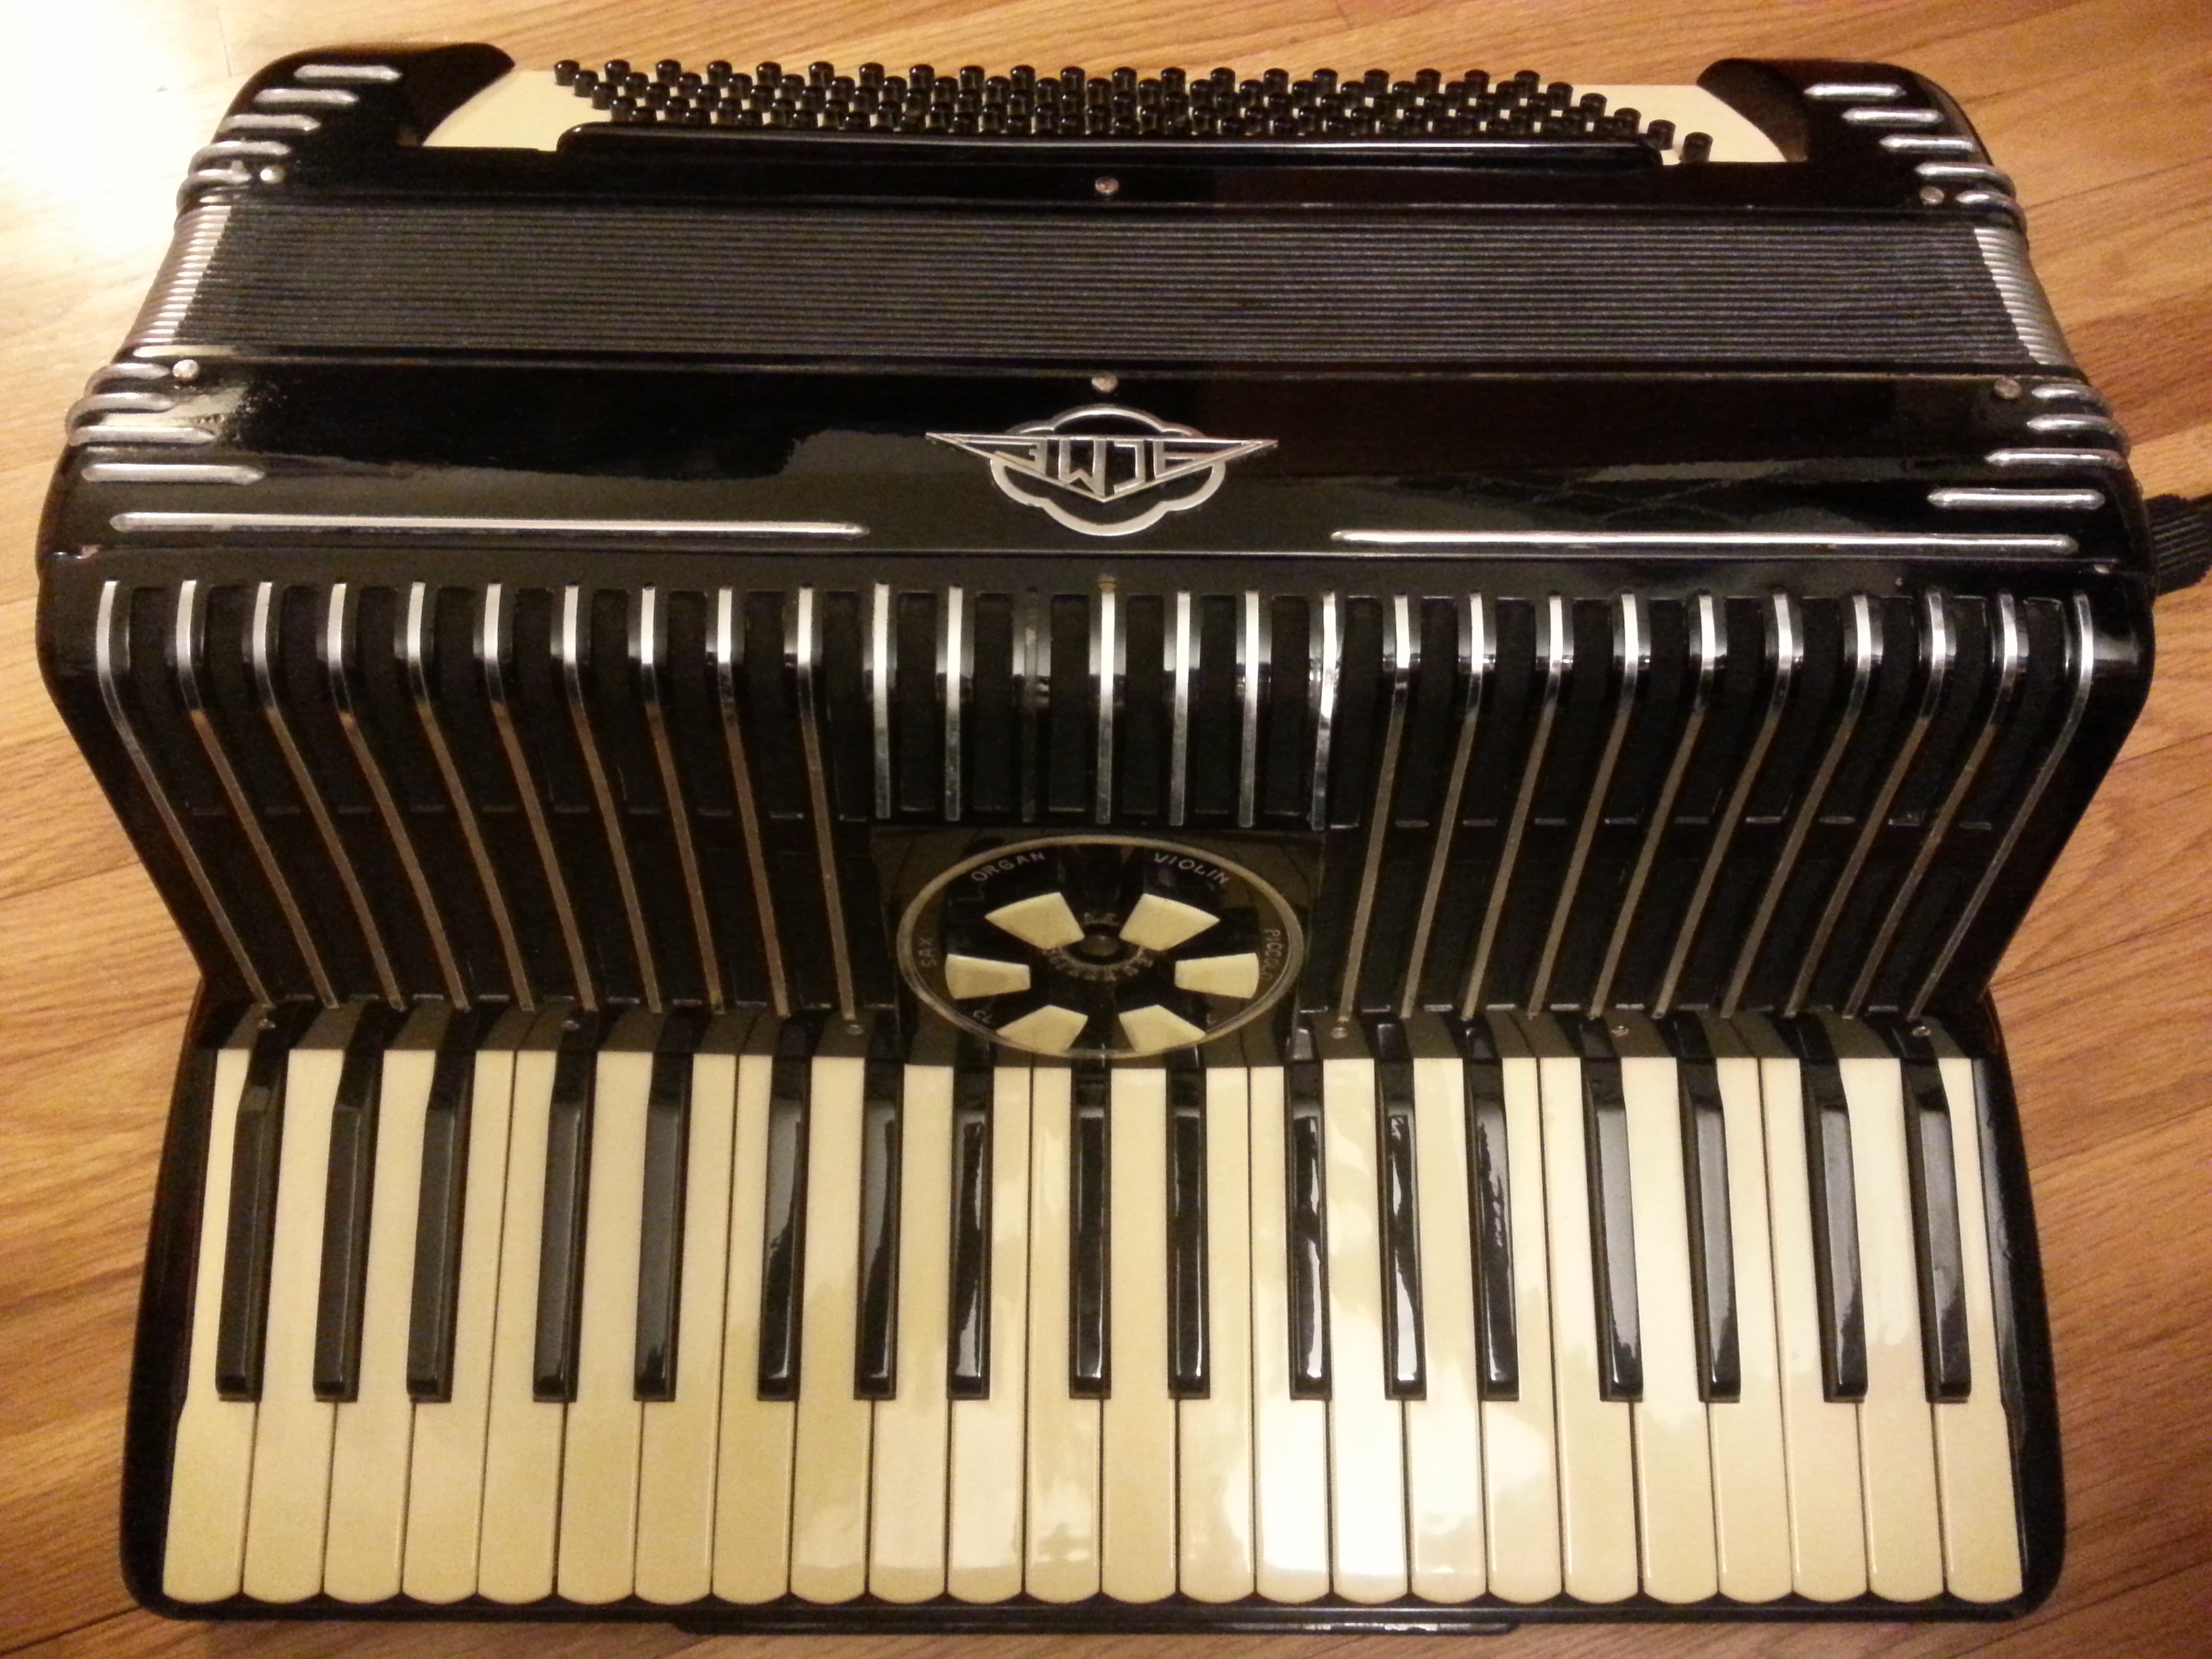
Some specs:
- Full size (19 1/4”) keyboard
- All keys function properly (no sticking), though a couple of them click louder than others. Not too worried about that.
- A couple of the keys are raised about a millimeter or two - not a big deal for me.
- 120 Stradella bass system
- A few of these buttons were sticky, so I had to go in and clean them. Other than that, all the buttons were fairly straight and level.
- There are divots on the C bass, Ab bass, and B bass buttons. The B divot was incorrect, though - I went and changed the top with the E bass button top.
- 4/5 Reeds
- Most of the reeds were out of tune, and some of them were just flat out broken, but I don’t particularly care since they’re being removed anyway.
All in all, I’m very happy with my purchase - with everything in good mechanical condition (except for the reeds), I couldn’t have asked for a better candidate accordion to turn into a MIDI instrument.
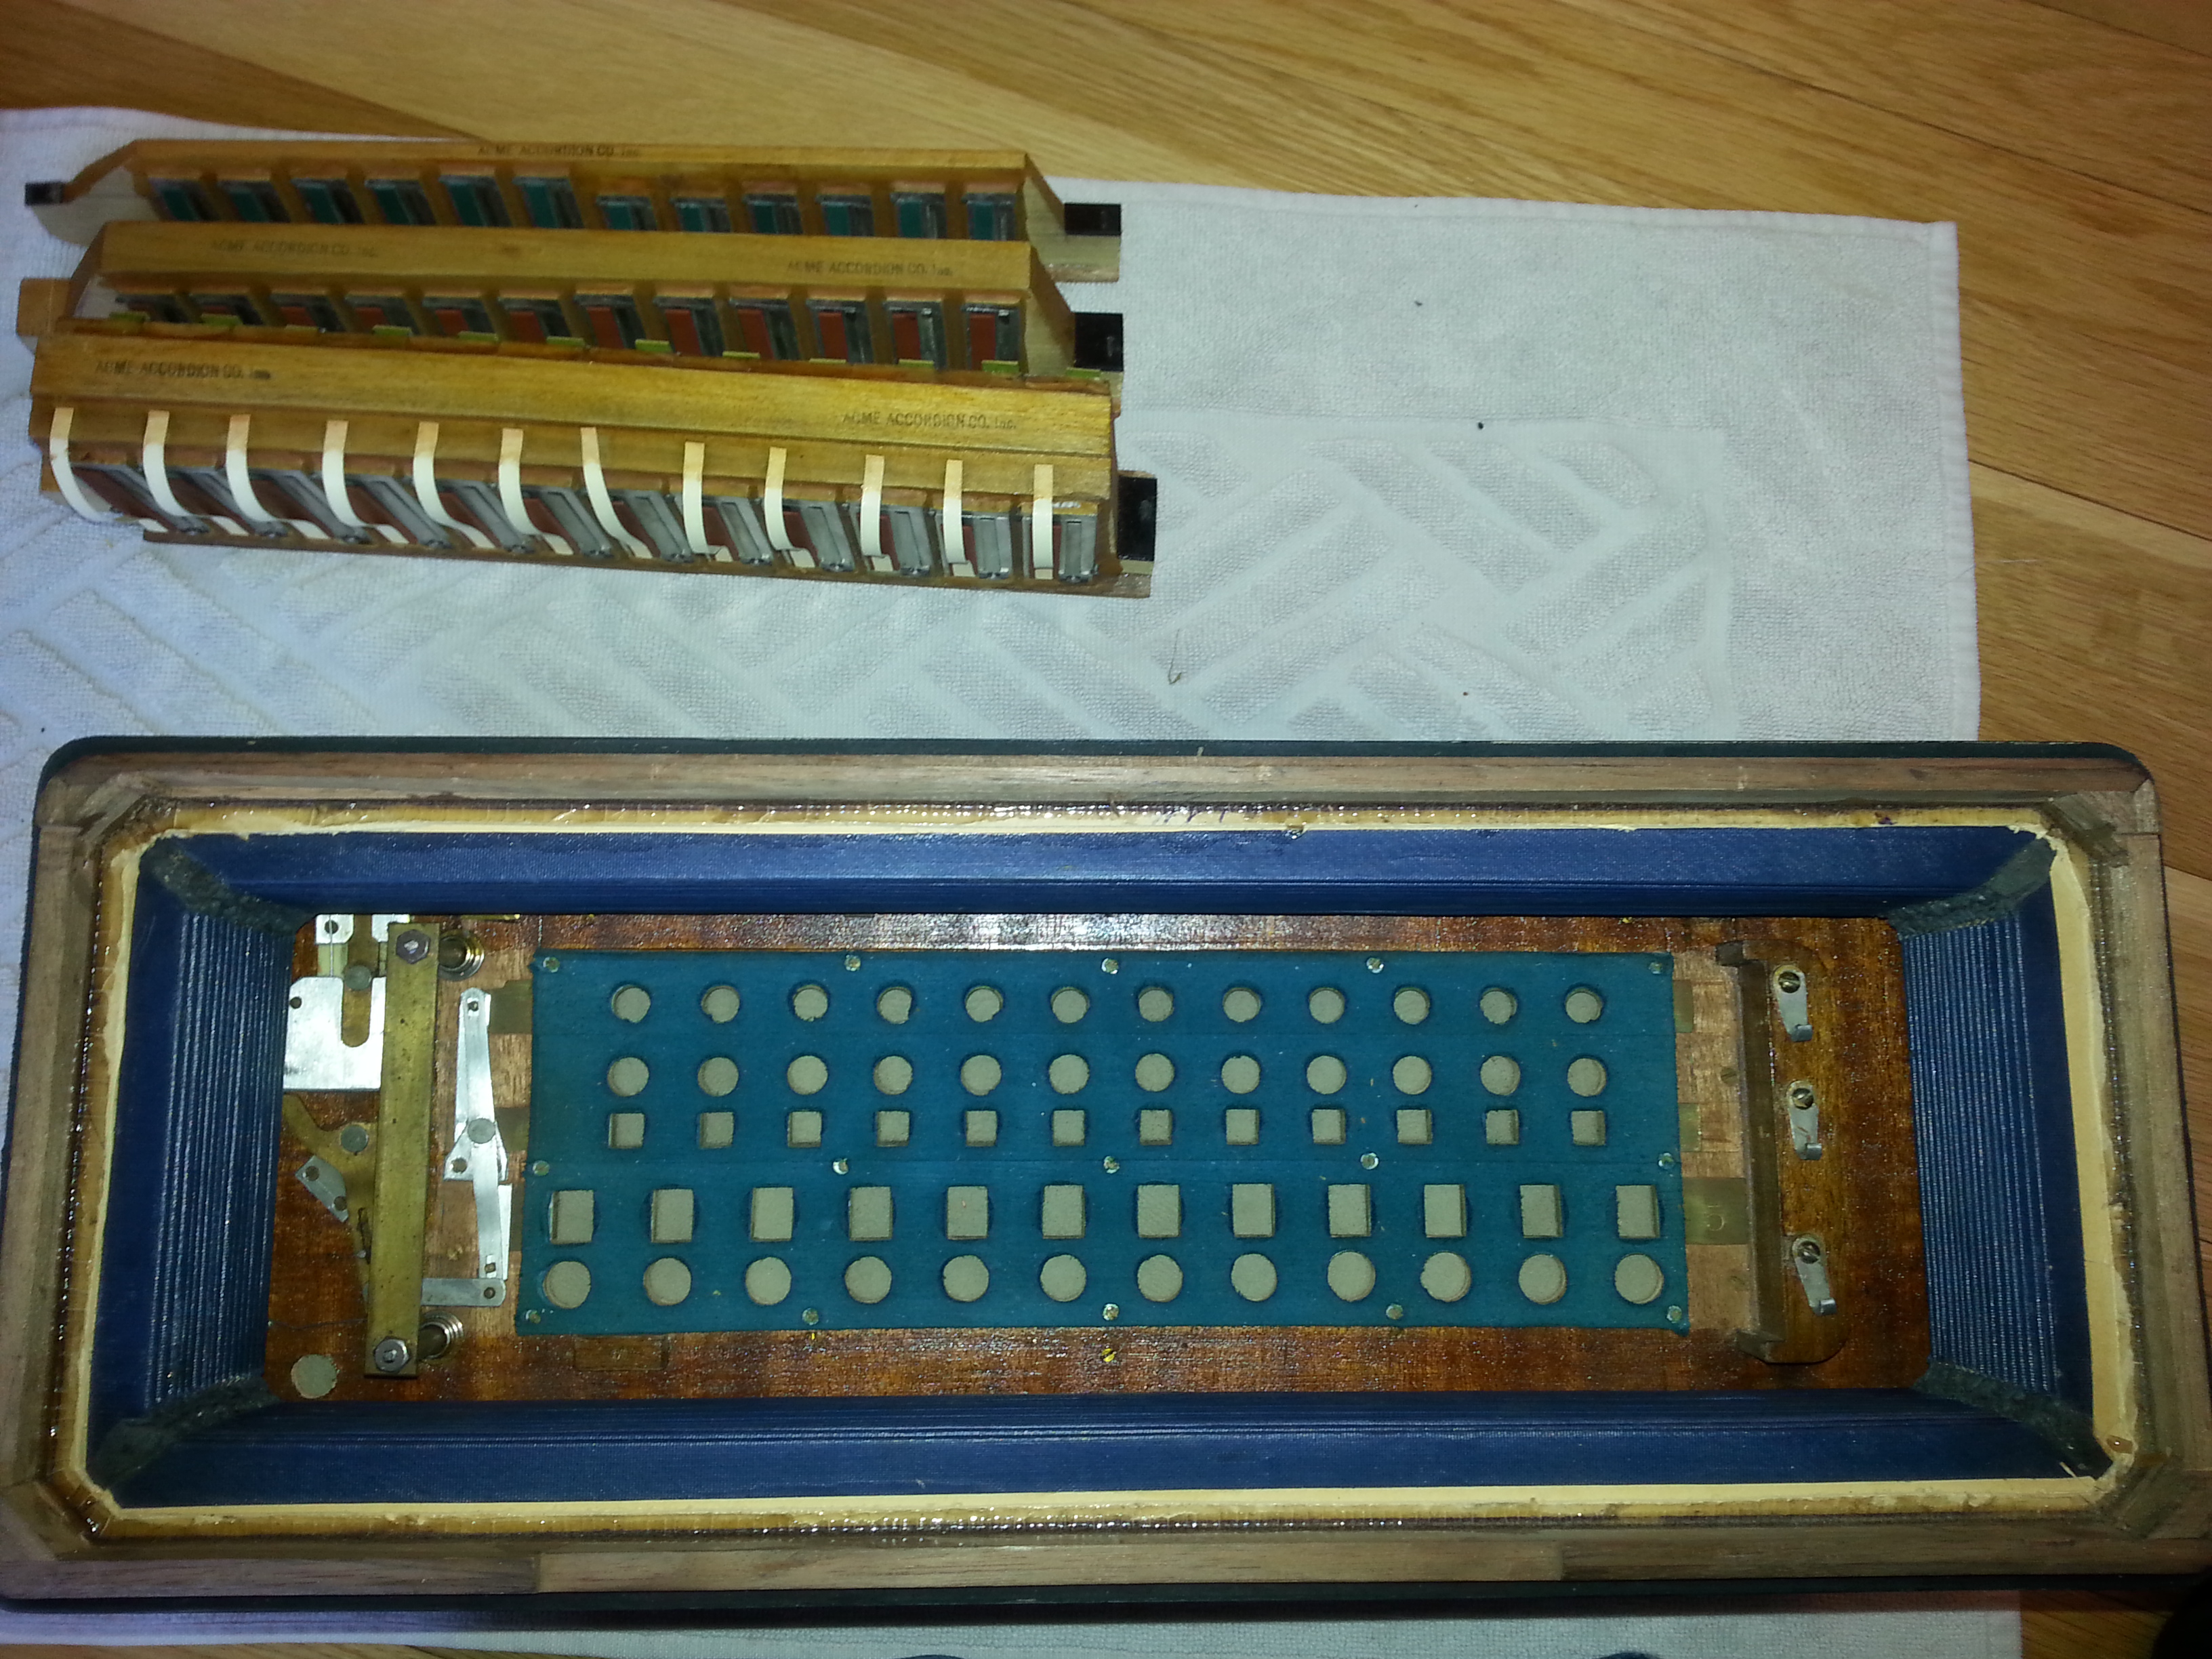
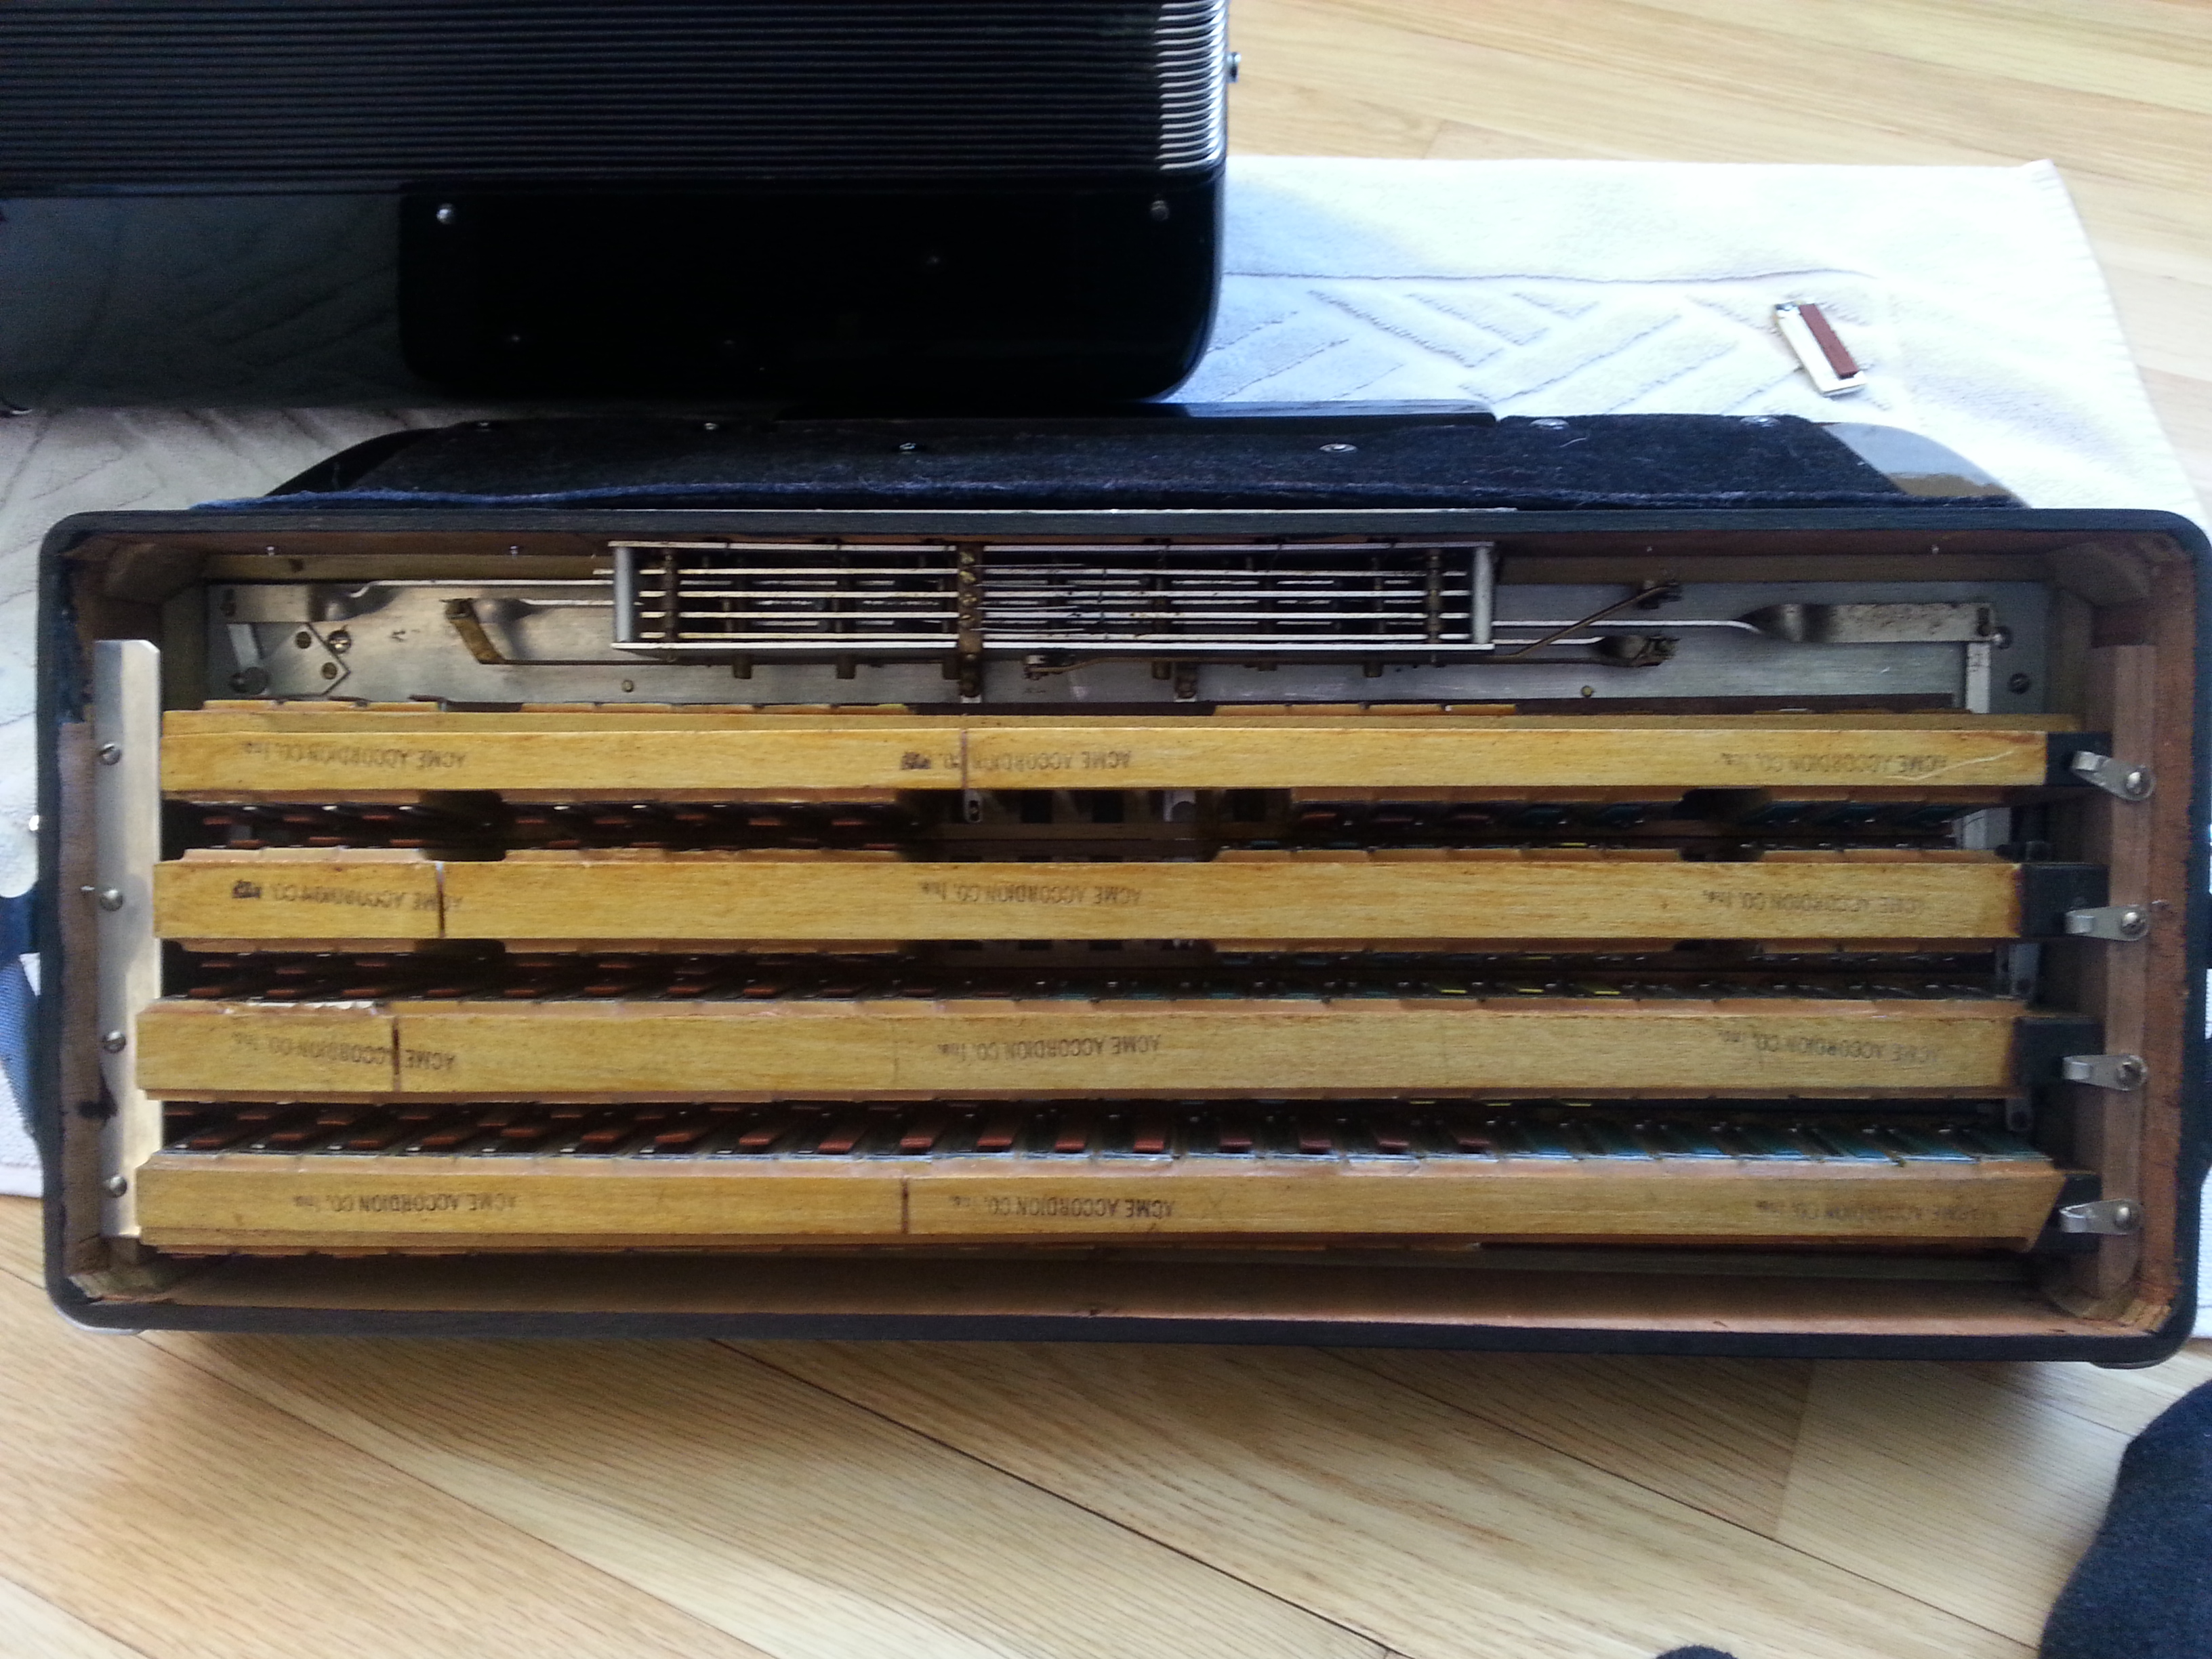
2. Taking apart the accordion
Once you get your accordion, you should test it to assert its condition. Press every key in the right hand, and every button the left hand. If any of them stick, you may need to repair them - see Part 3 below for more details. Either way, you’ll need to open up the accordion to take out the reed blocks. Start by taking out the bellow pins closest to the right hand (there are likely 3 in the front and 3 in the back). You should be able to use a pair of linesman pliers and carefully twist them out. You should keep track of which pin went where so you can put them back in the same place (for some accordions, the pins may differ between the front and back, and left and right). Once you take out all the pins from the right hand side of the bellows, you should be able to carefully remove the keyboard side from the bellows. Now take out the pins on the left hand side of the bellows and remove the bellows from the left hand side.
Once the bellows have been removed from both sides, it’s time to remove the reed blocks. For both sides, there should only be a screw or two that need to be removed before you’re able to take out all of the reed blocks.
3. Fixing up the accordion (if necessary)
If you’re lucky, your accordion is already in great shape and there’s nothing you need to do. However, if you’re like me and have an accordion with some sticky bass buttons or keys, you may need to go in and unstick them. I recommend checking out these links, which go into great detail on how to take apart the accordion keys and buttons.
- How to take apart the Stradella bass system
- How to take apart the piano keyboard
- Lots of various accordion repair information
4. Deciding how to trigger the opto-interruptors
Now that the accordion is in playable shape, it time to figure out how you want to trigger the opto-interruptor sensors. The AccordionMega project solved this problem by gluing metal rods to every key pad on the outside of both the left and right hand keys.


If you choose to follow this path, you’re on your own to figure out the details of making this work. As an alternative, I decided to solve this problem from the bellows side by attaching blockers on the underside of the key pads of both the left and right hand keys.
There are pros and cons to doing it one way or the other:
Using blockers on the outside (the AccordionMega way)
Pros:
- Sturdier design
- Better support for realistic bellow movement for dynamic expression
Cons:
- Harder to install: requires taking apart the entire stradella bass system
- Not much of a con if you plan on taking it apart anyway to clean it.
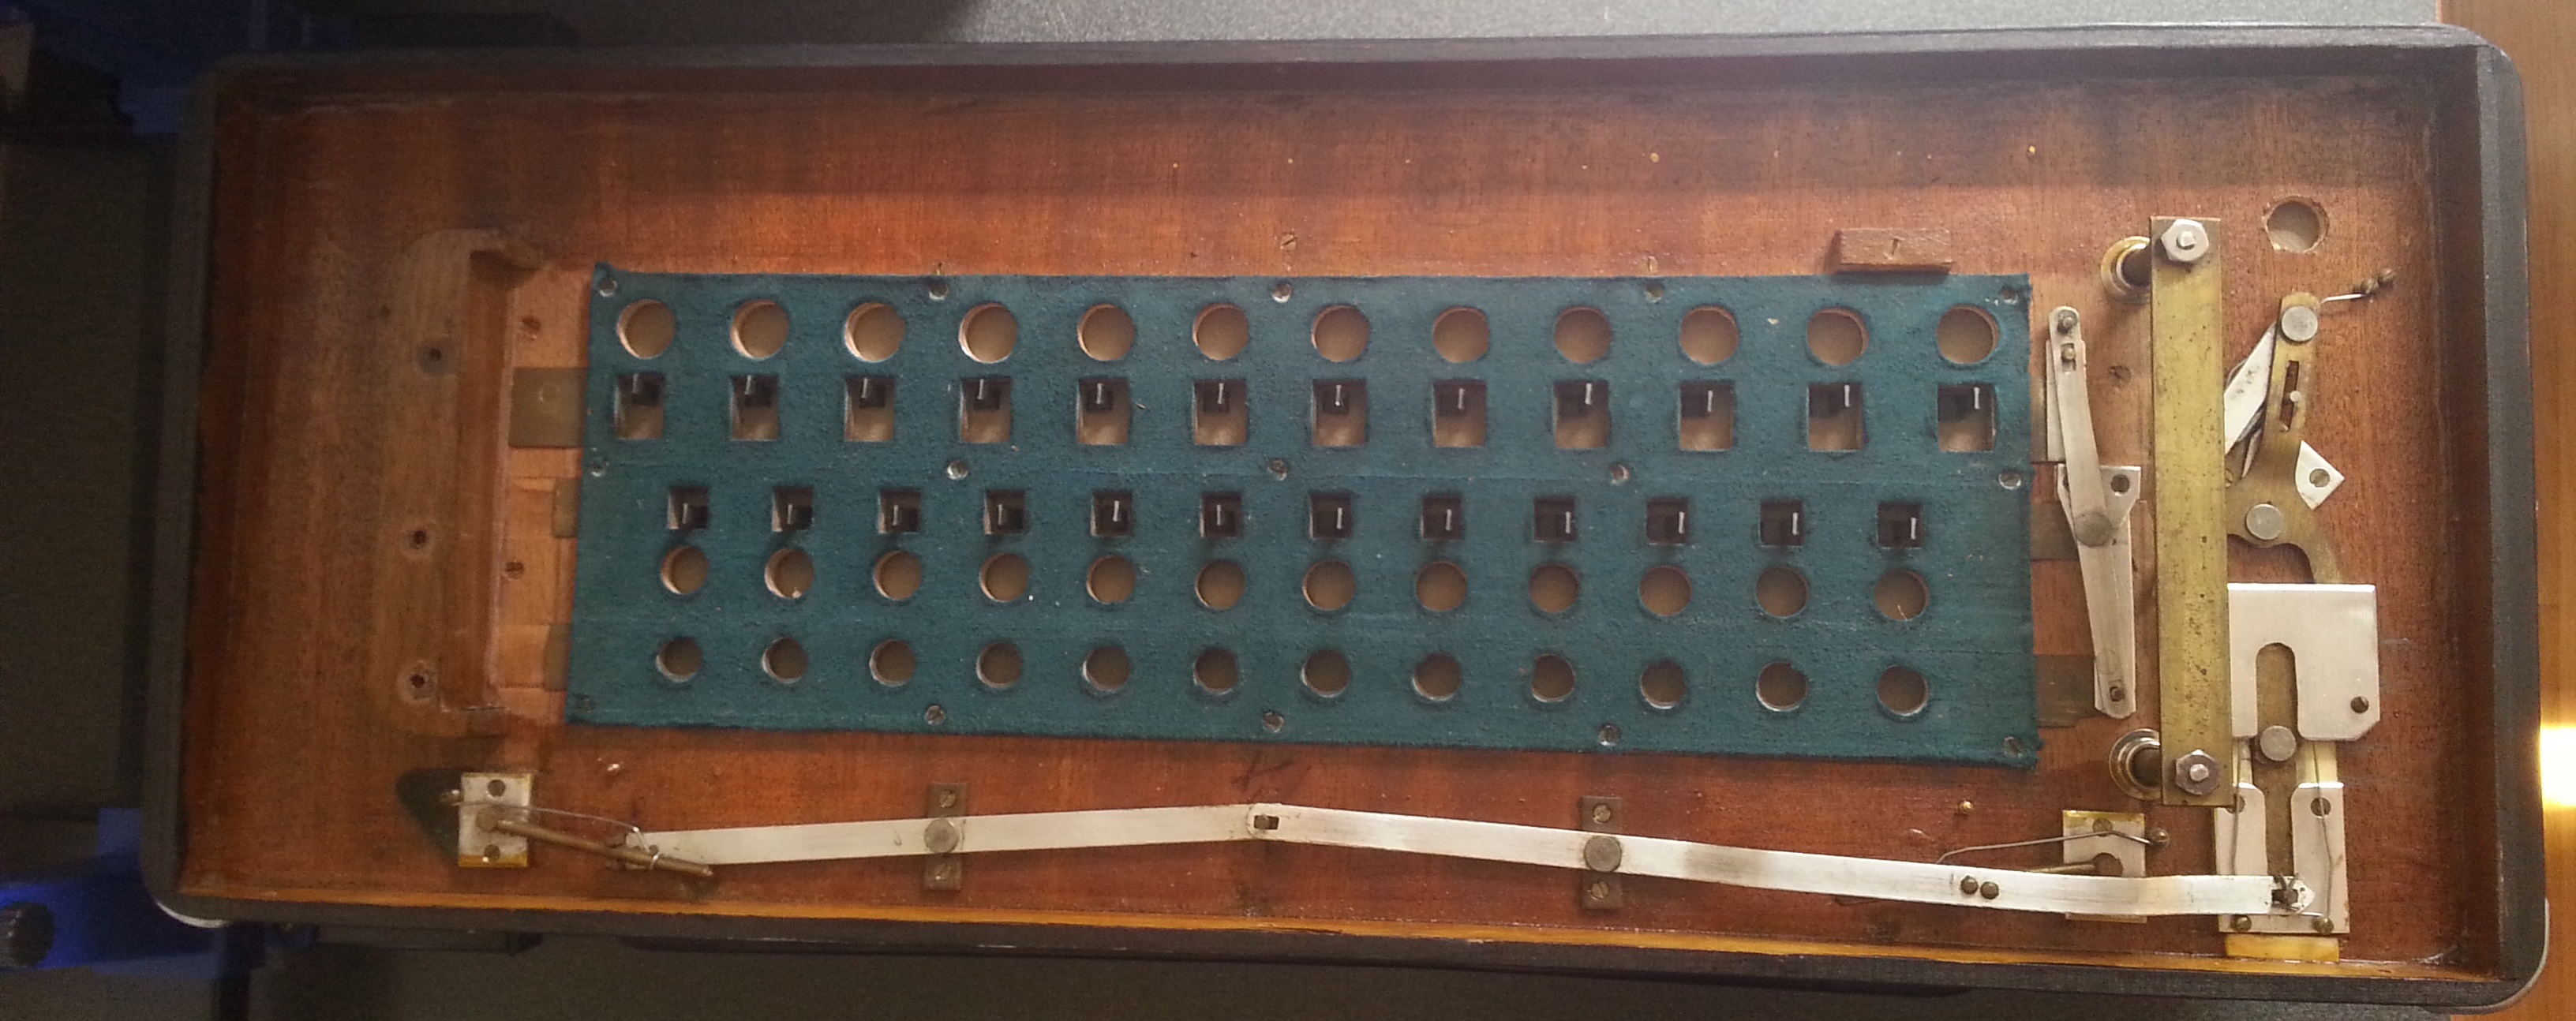
- No room on the right hand inside the grill to hide the circuitry (see above image)
- Need more/longer wires to connect everything
Using blockers on the inside (my way)
Pros:
- Easy to install (details below) and wire
- Better Presentation: everything is well hidden inside the accordion
Cons:
- Can cause key “sticking” if the key moves around a lot when pressing it
- This may be more noticable on some keys (or accordions) than others. This may also be a con for the other method, but I can’t say for certain.
- Requires larger airways, meaning looser bellows movement for dynamic expression
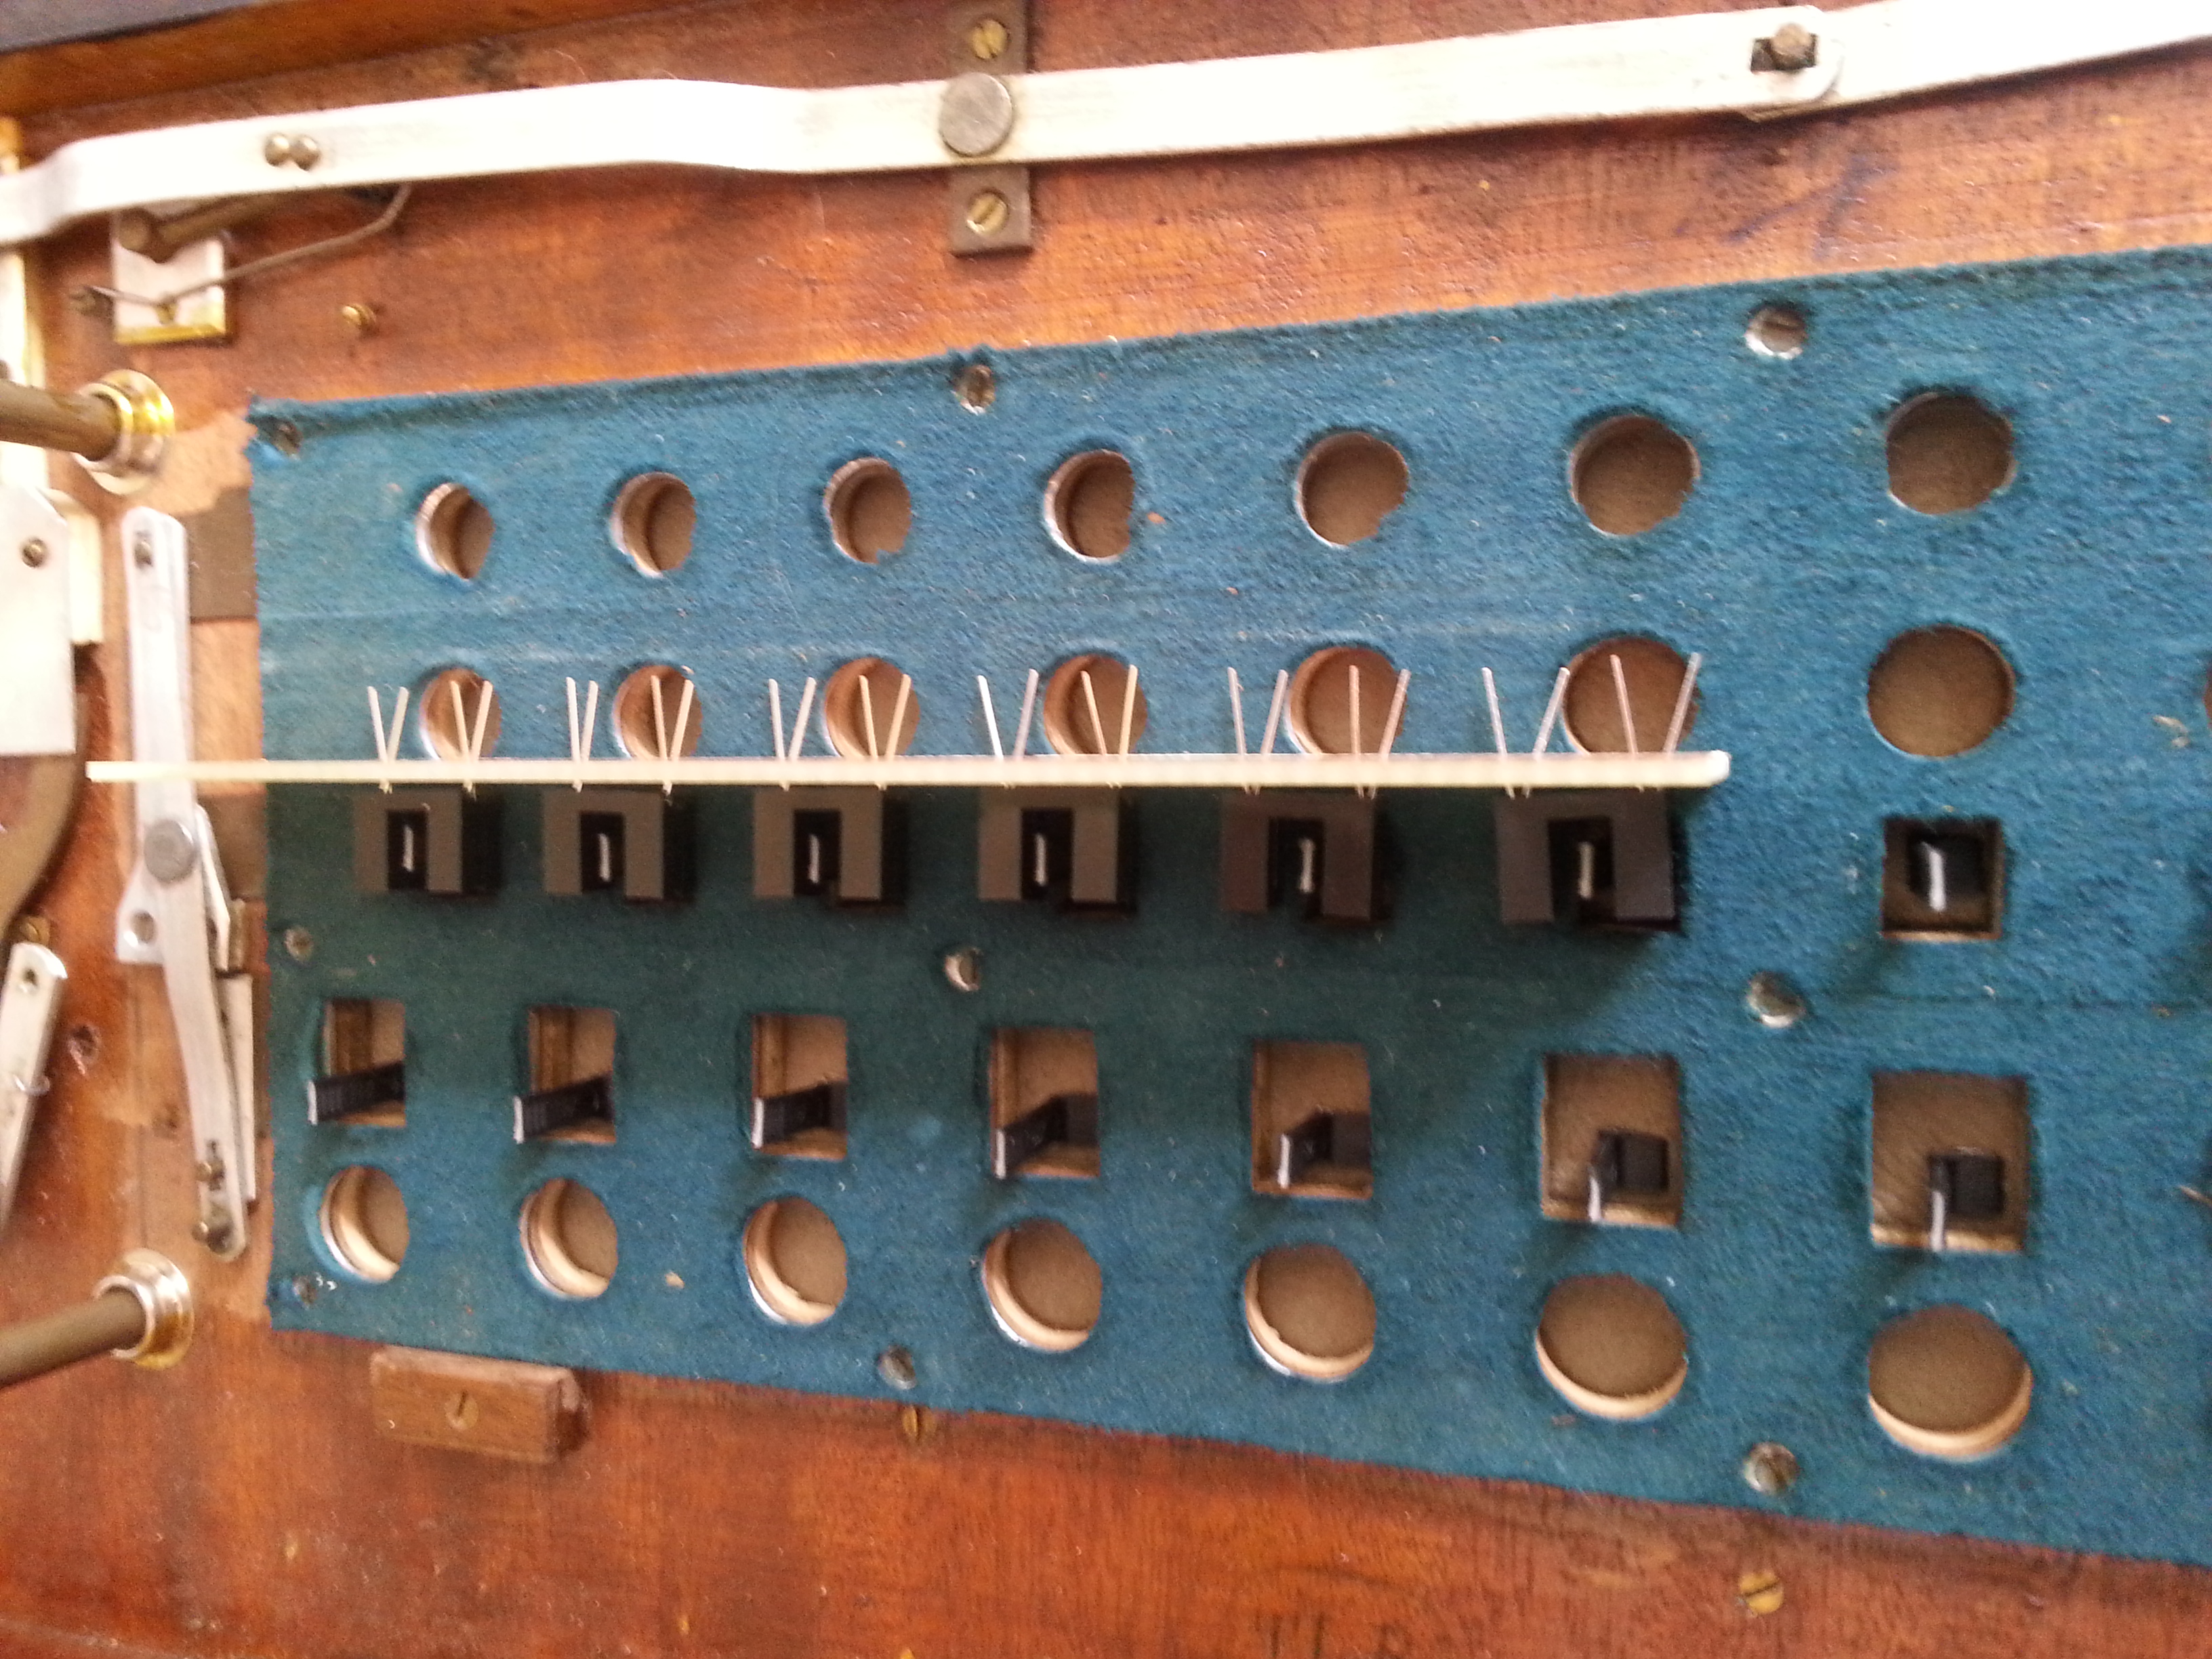
5. Installing the blockers inside the bellows
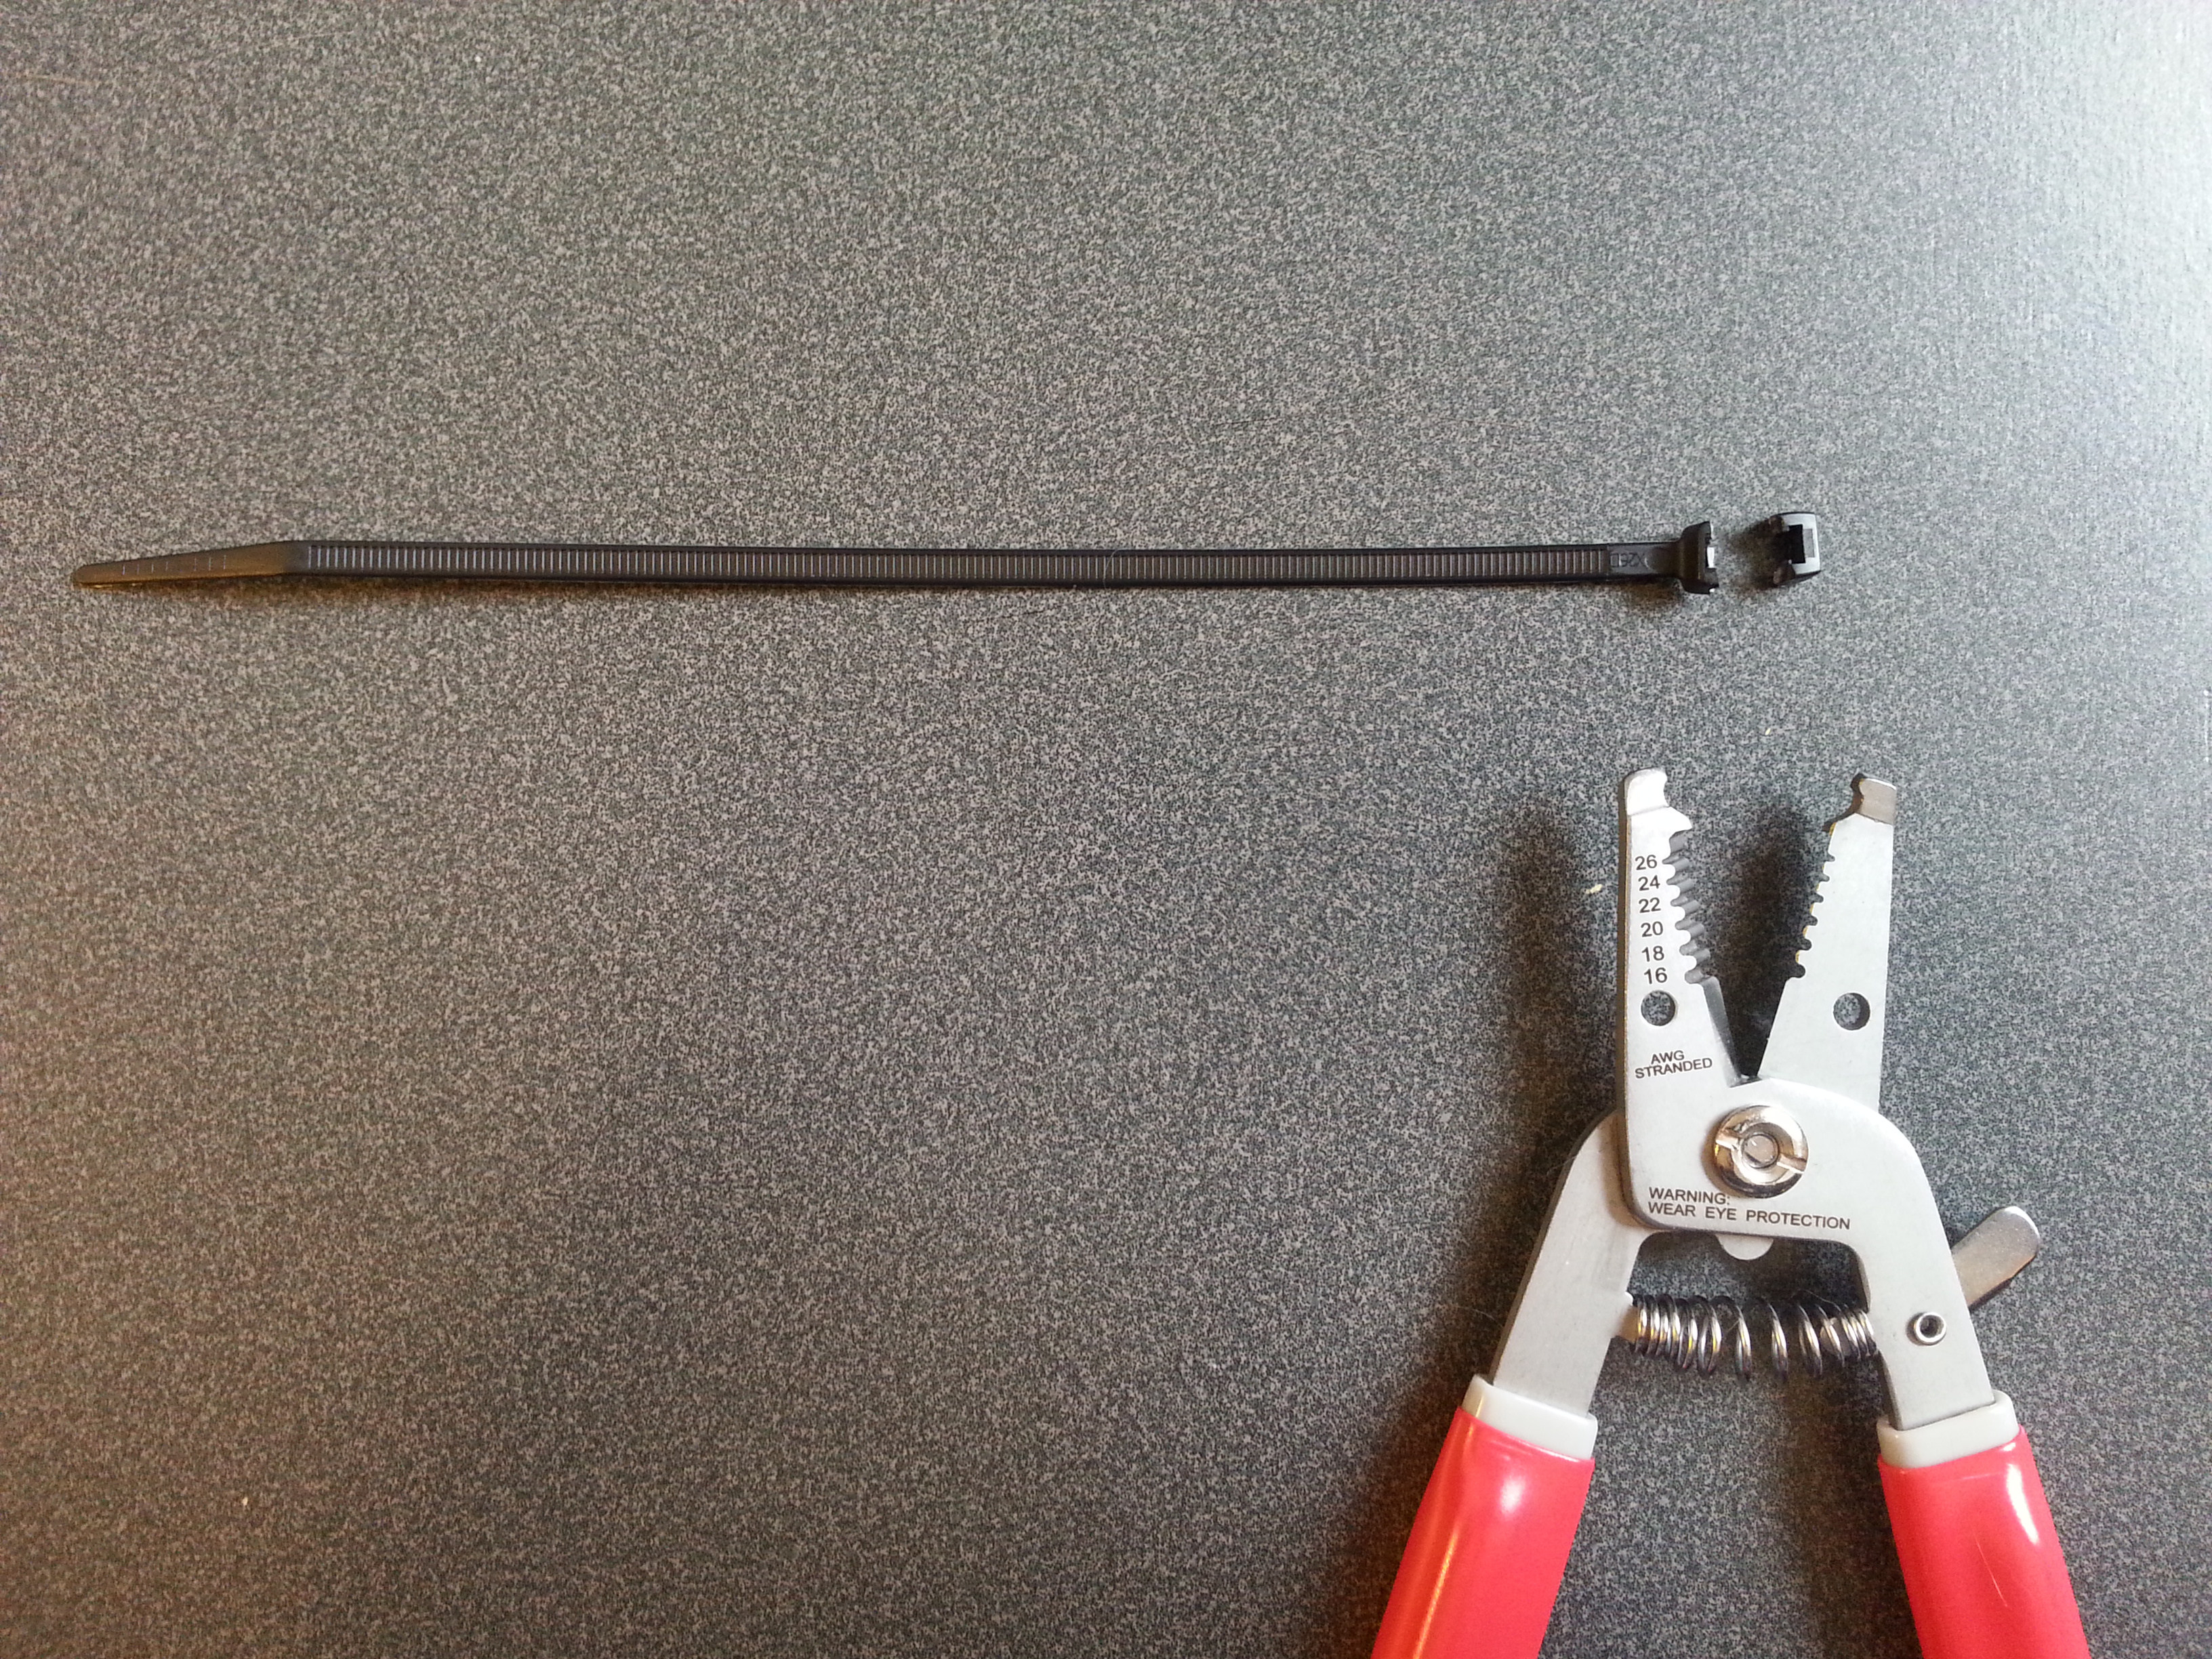
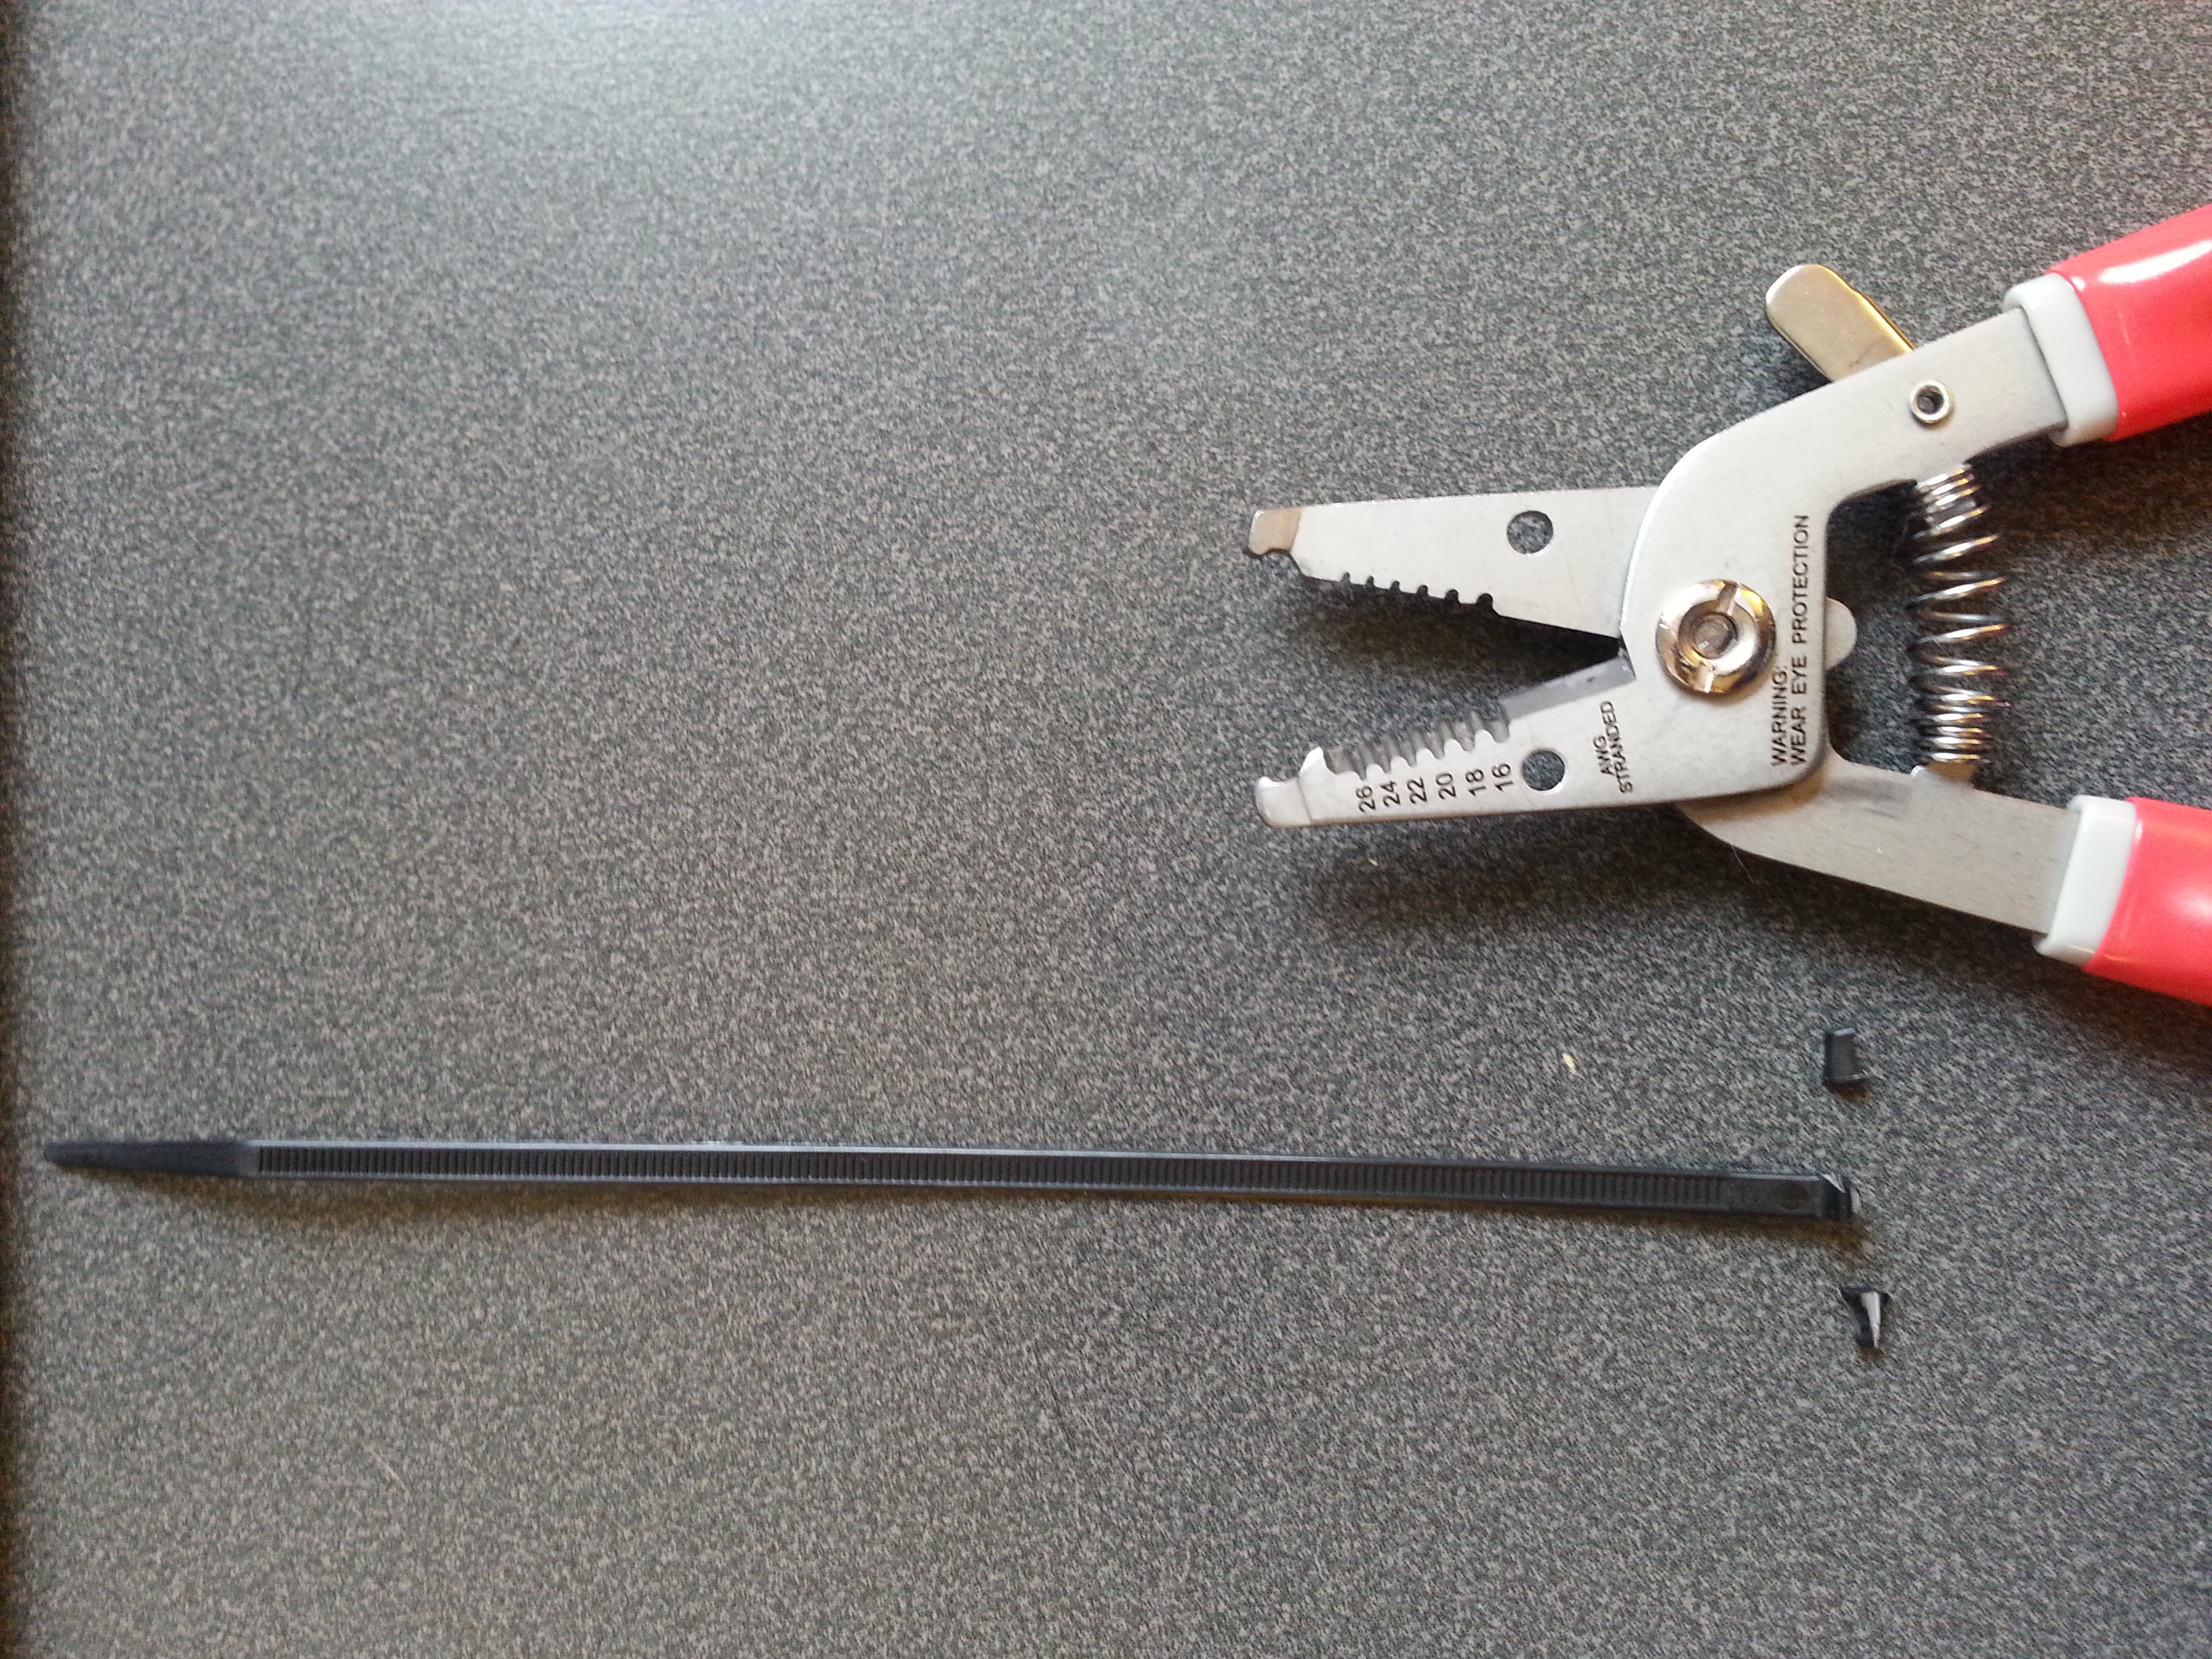
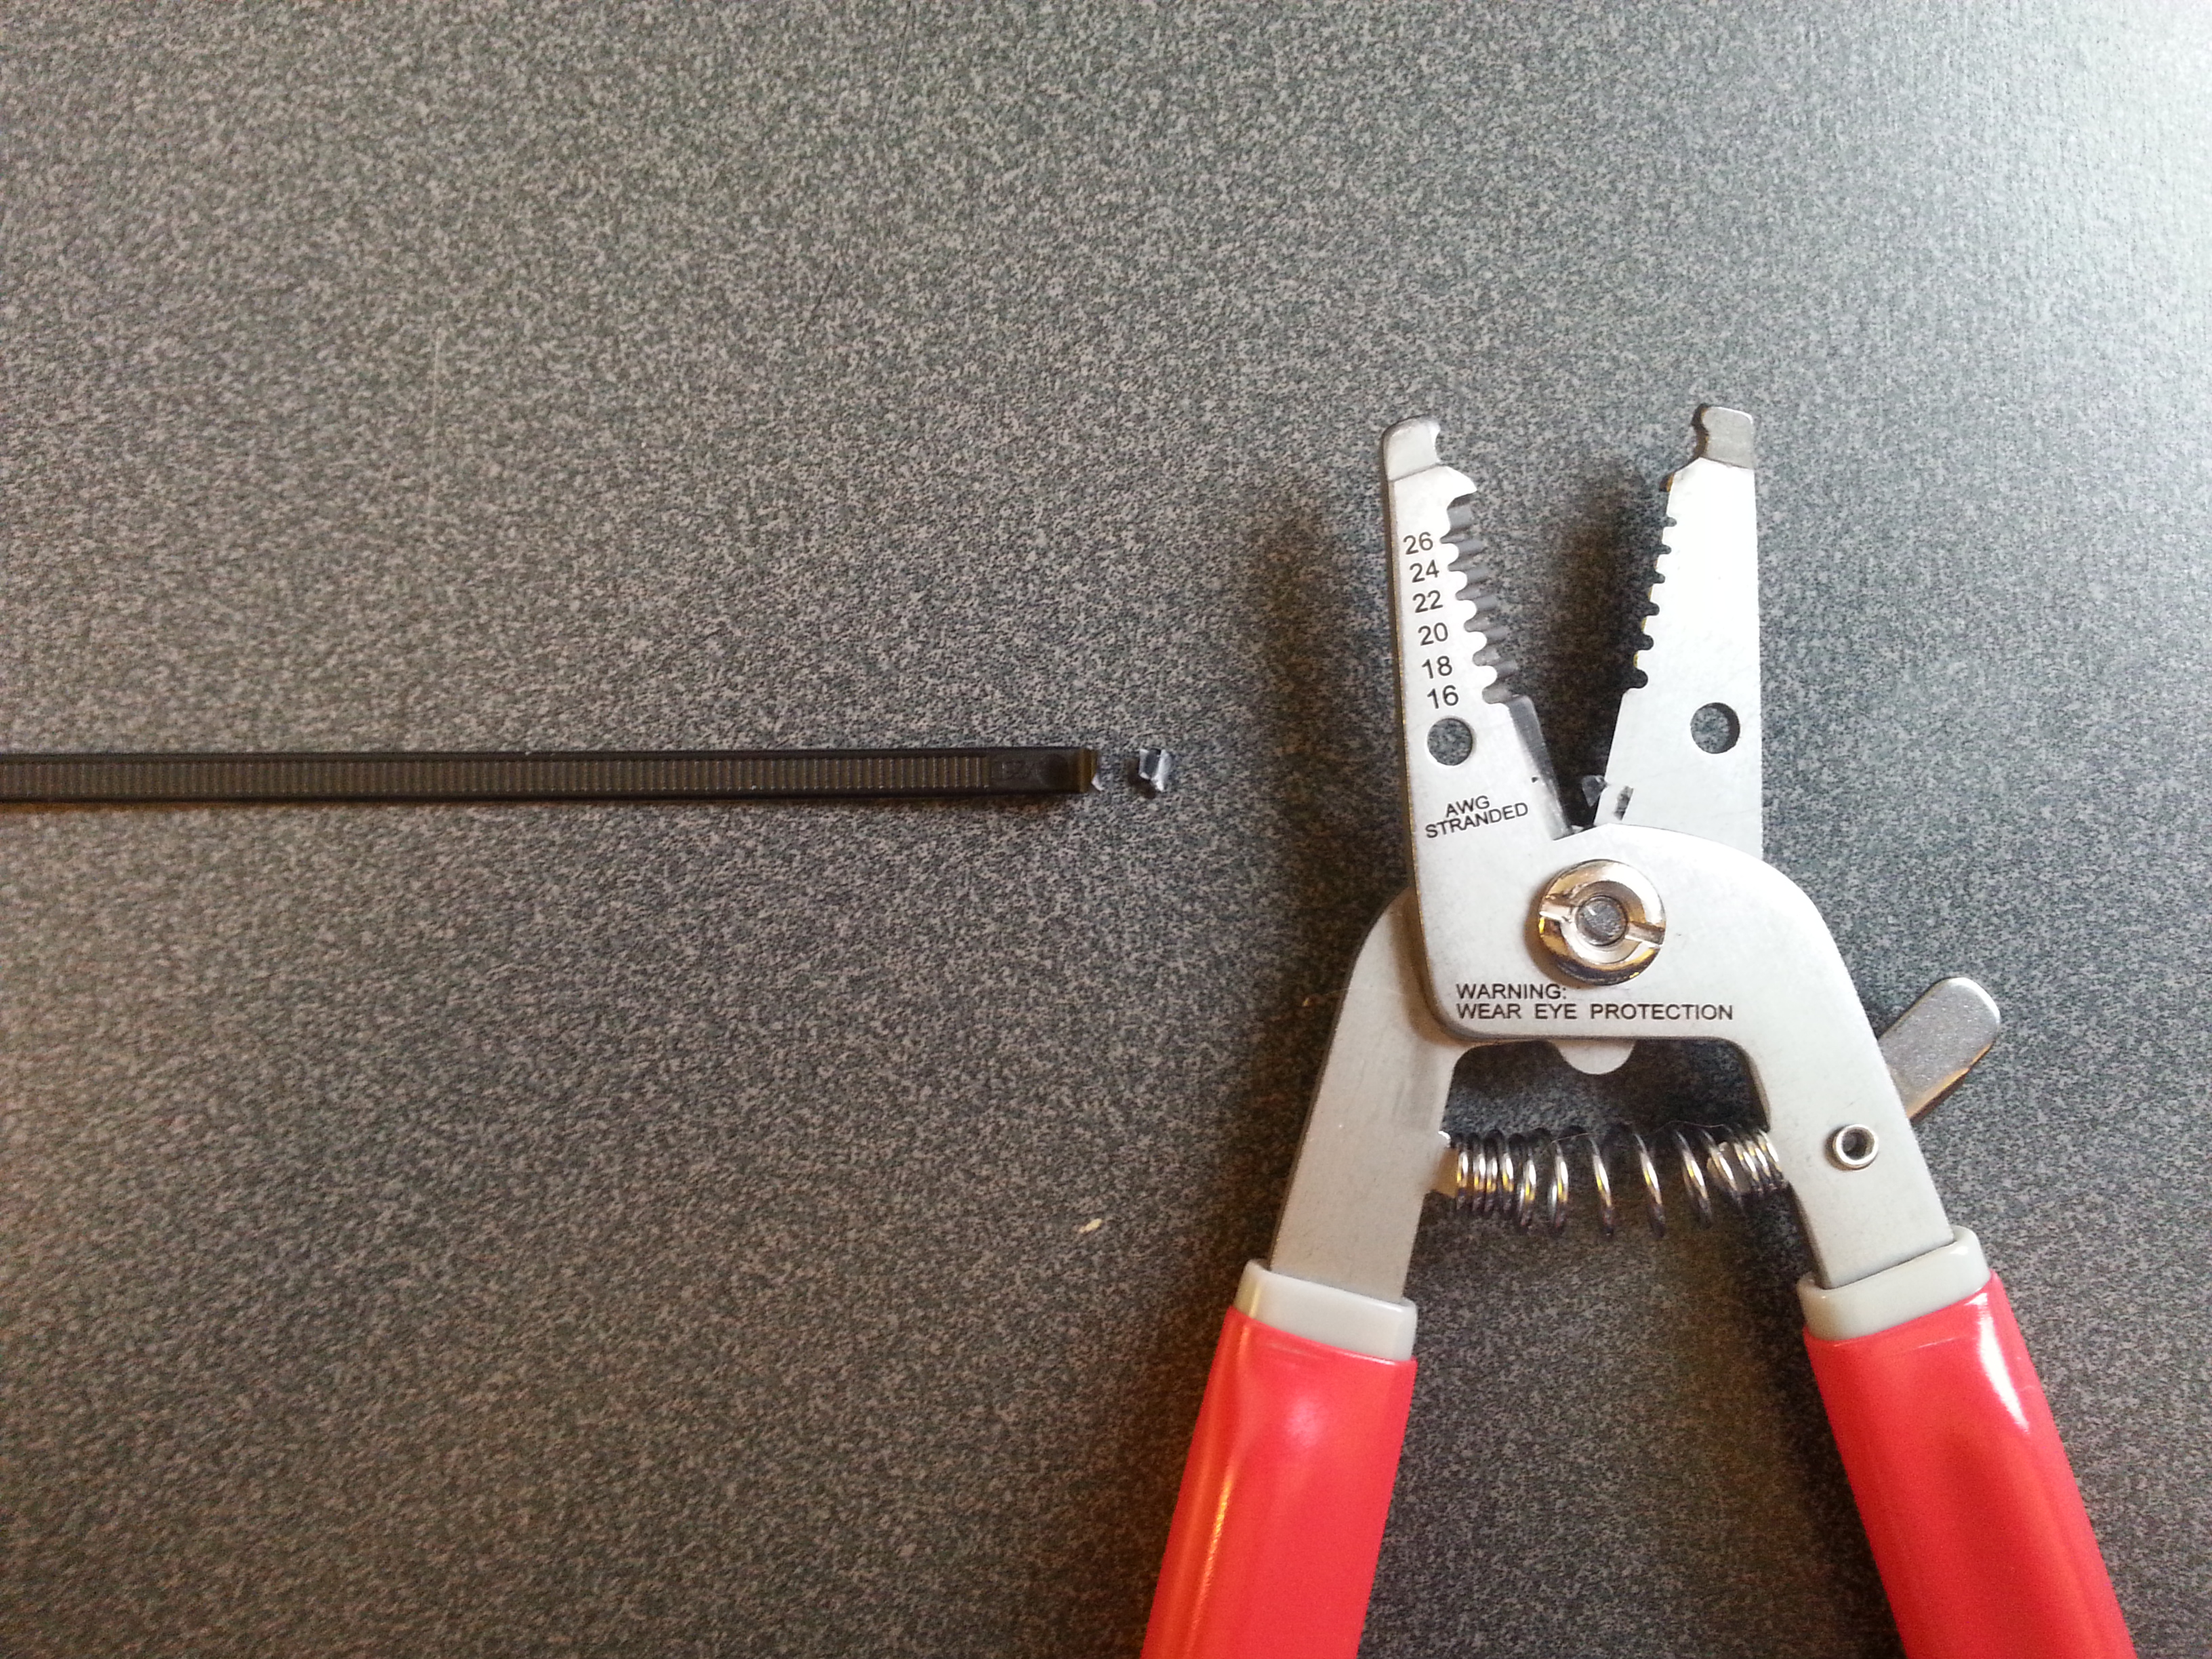
I made the blockers out of zip ties (shown below) and glued them to the bottom of the key pads using E6000:
I chose to use E6000 for a couple reasons:
- E6000 is a soft bond, so there’s a bit of give to the glue even after it hardens. This means it’s less likely to become brittle over time from the vibrations of moving the keys.
- We’re adhereing plastic to felt, and there are not many glues that guarantee a long-lasting bond between these two materials.
- While strong, this glue is not permanent and can be removed with force if needed. This is important because you may find out that some of the blockers may need to be re-positioned after mounting the finished circuits on top of them.
The height of the blockers depend on the key pads. I had to make two different heights for the left and right hand keys, so be sure to measure and make sure that the height of the blockers on the keypad is about the same as the height of the opto-interruptor placed over the keypad, if not a little higher. Note that, when you press the key, the pad goes both down and away in a certain direction. I suggest positioning the opto-interruptor such that the blocker moves both down and away from it (you may run into collision issues otherwise).
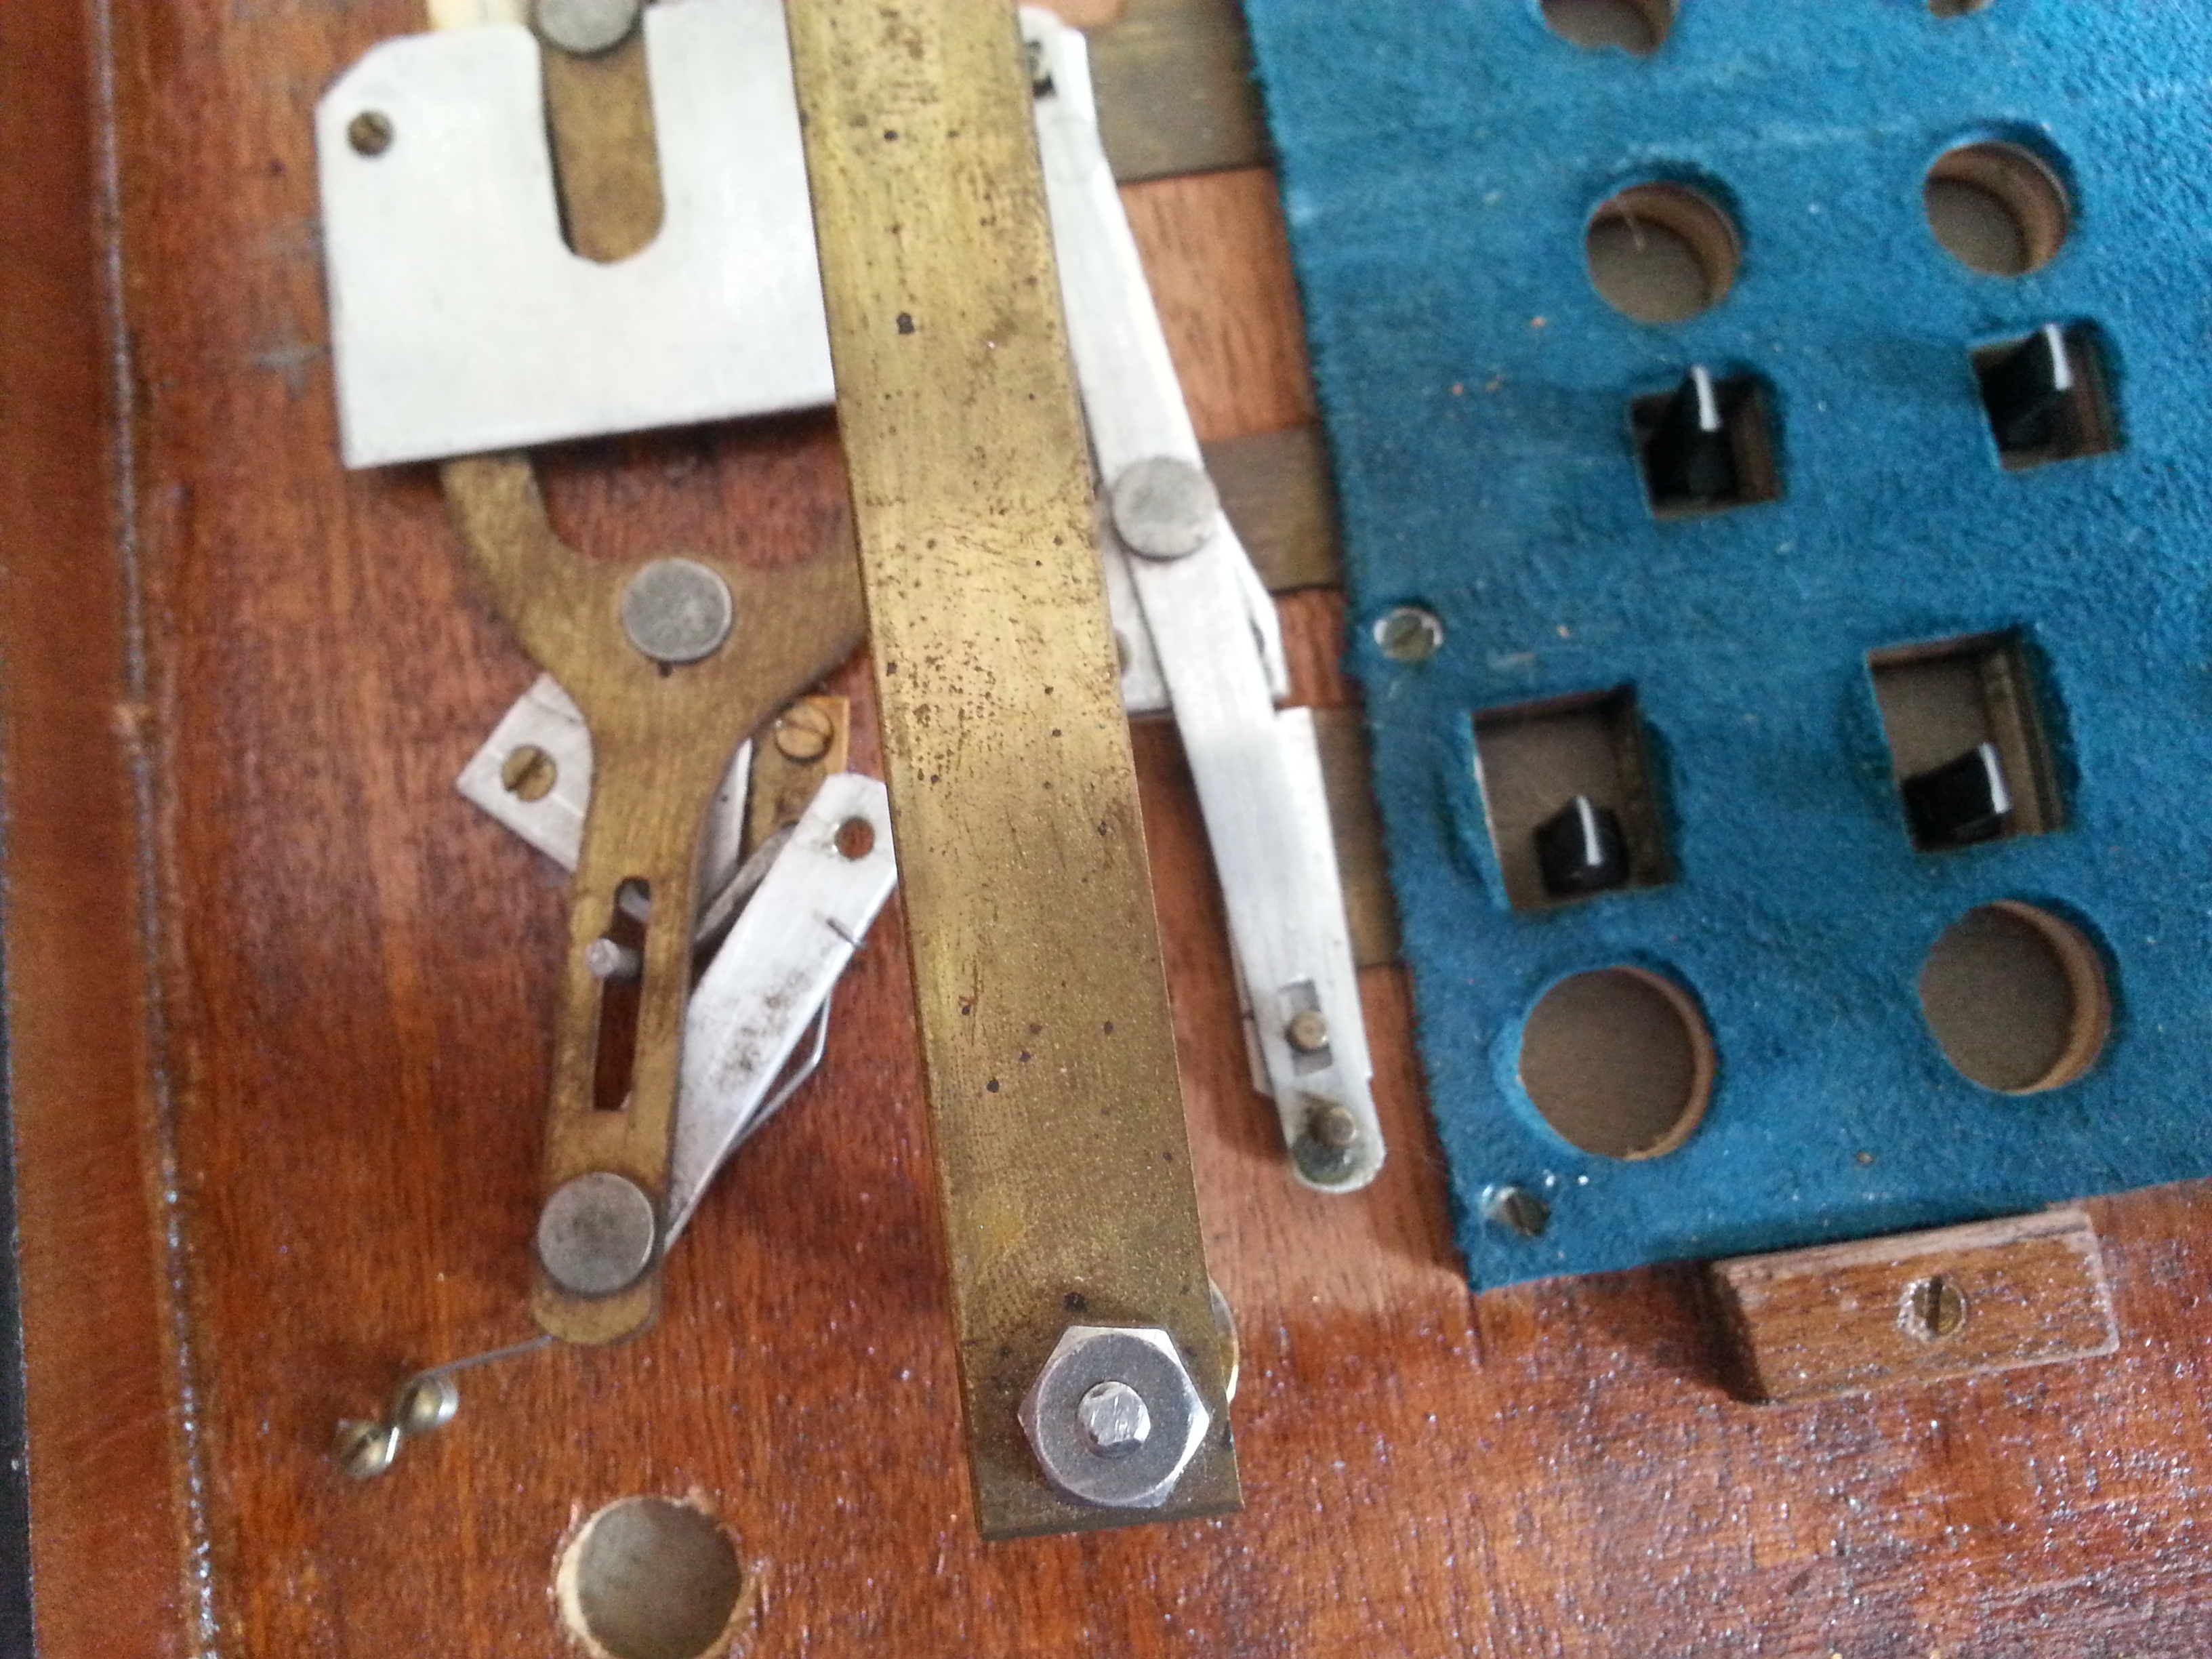
If you choose to do this my way and attach blockers to the inside of the keypads you will need to find a way to disable the register buttons from closing in on the reed holes where you placed the blockers. I did this on my accordion by pulling a metal rod out of its slot for each register that could close in on the blockers. Some of them I could not unhook, though, so I removed those components entirely by unscrewing them from the metal plate where they were attached.
6. Testing
Once all the blockers are in place, press every key and button to make sure they’re still working properly and that the blockers do not prevent them from fully returning to their resting position. You may need to pull off the zip tie and re-position it - I had to do that for a few different keys. Also try placing opto-interruptors over the keypad hole to make sure the zip ties completely block the sensor and assert that pressing the keys and buttons do not cause the blockers to collide with the components.
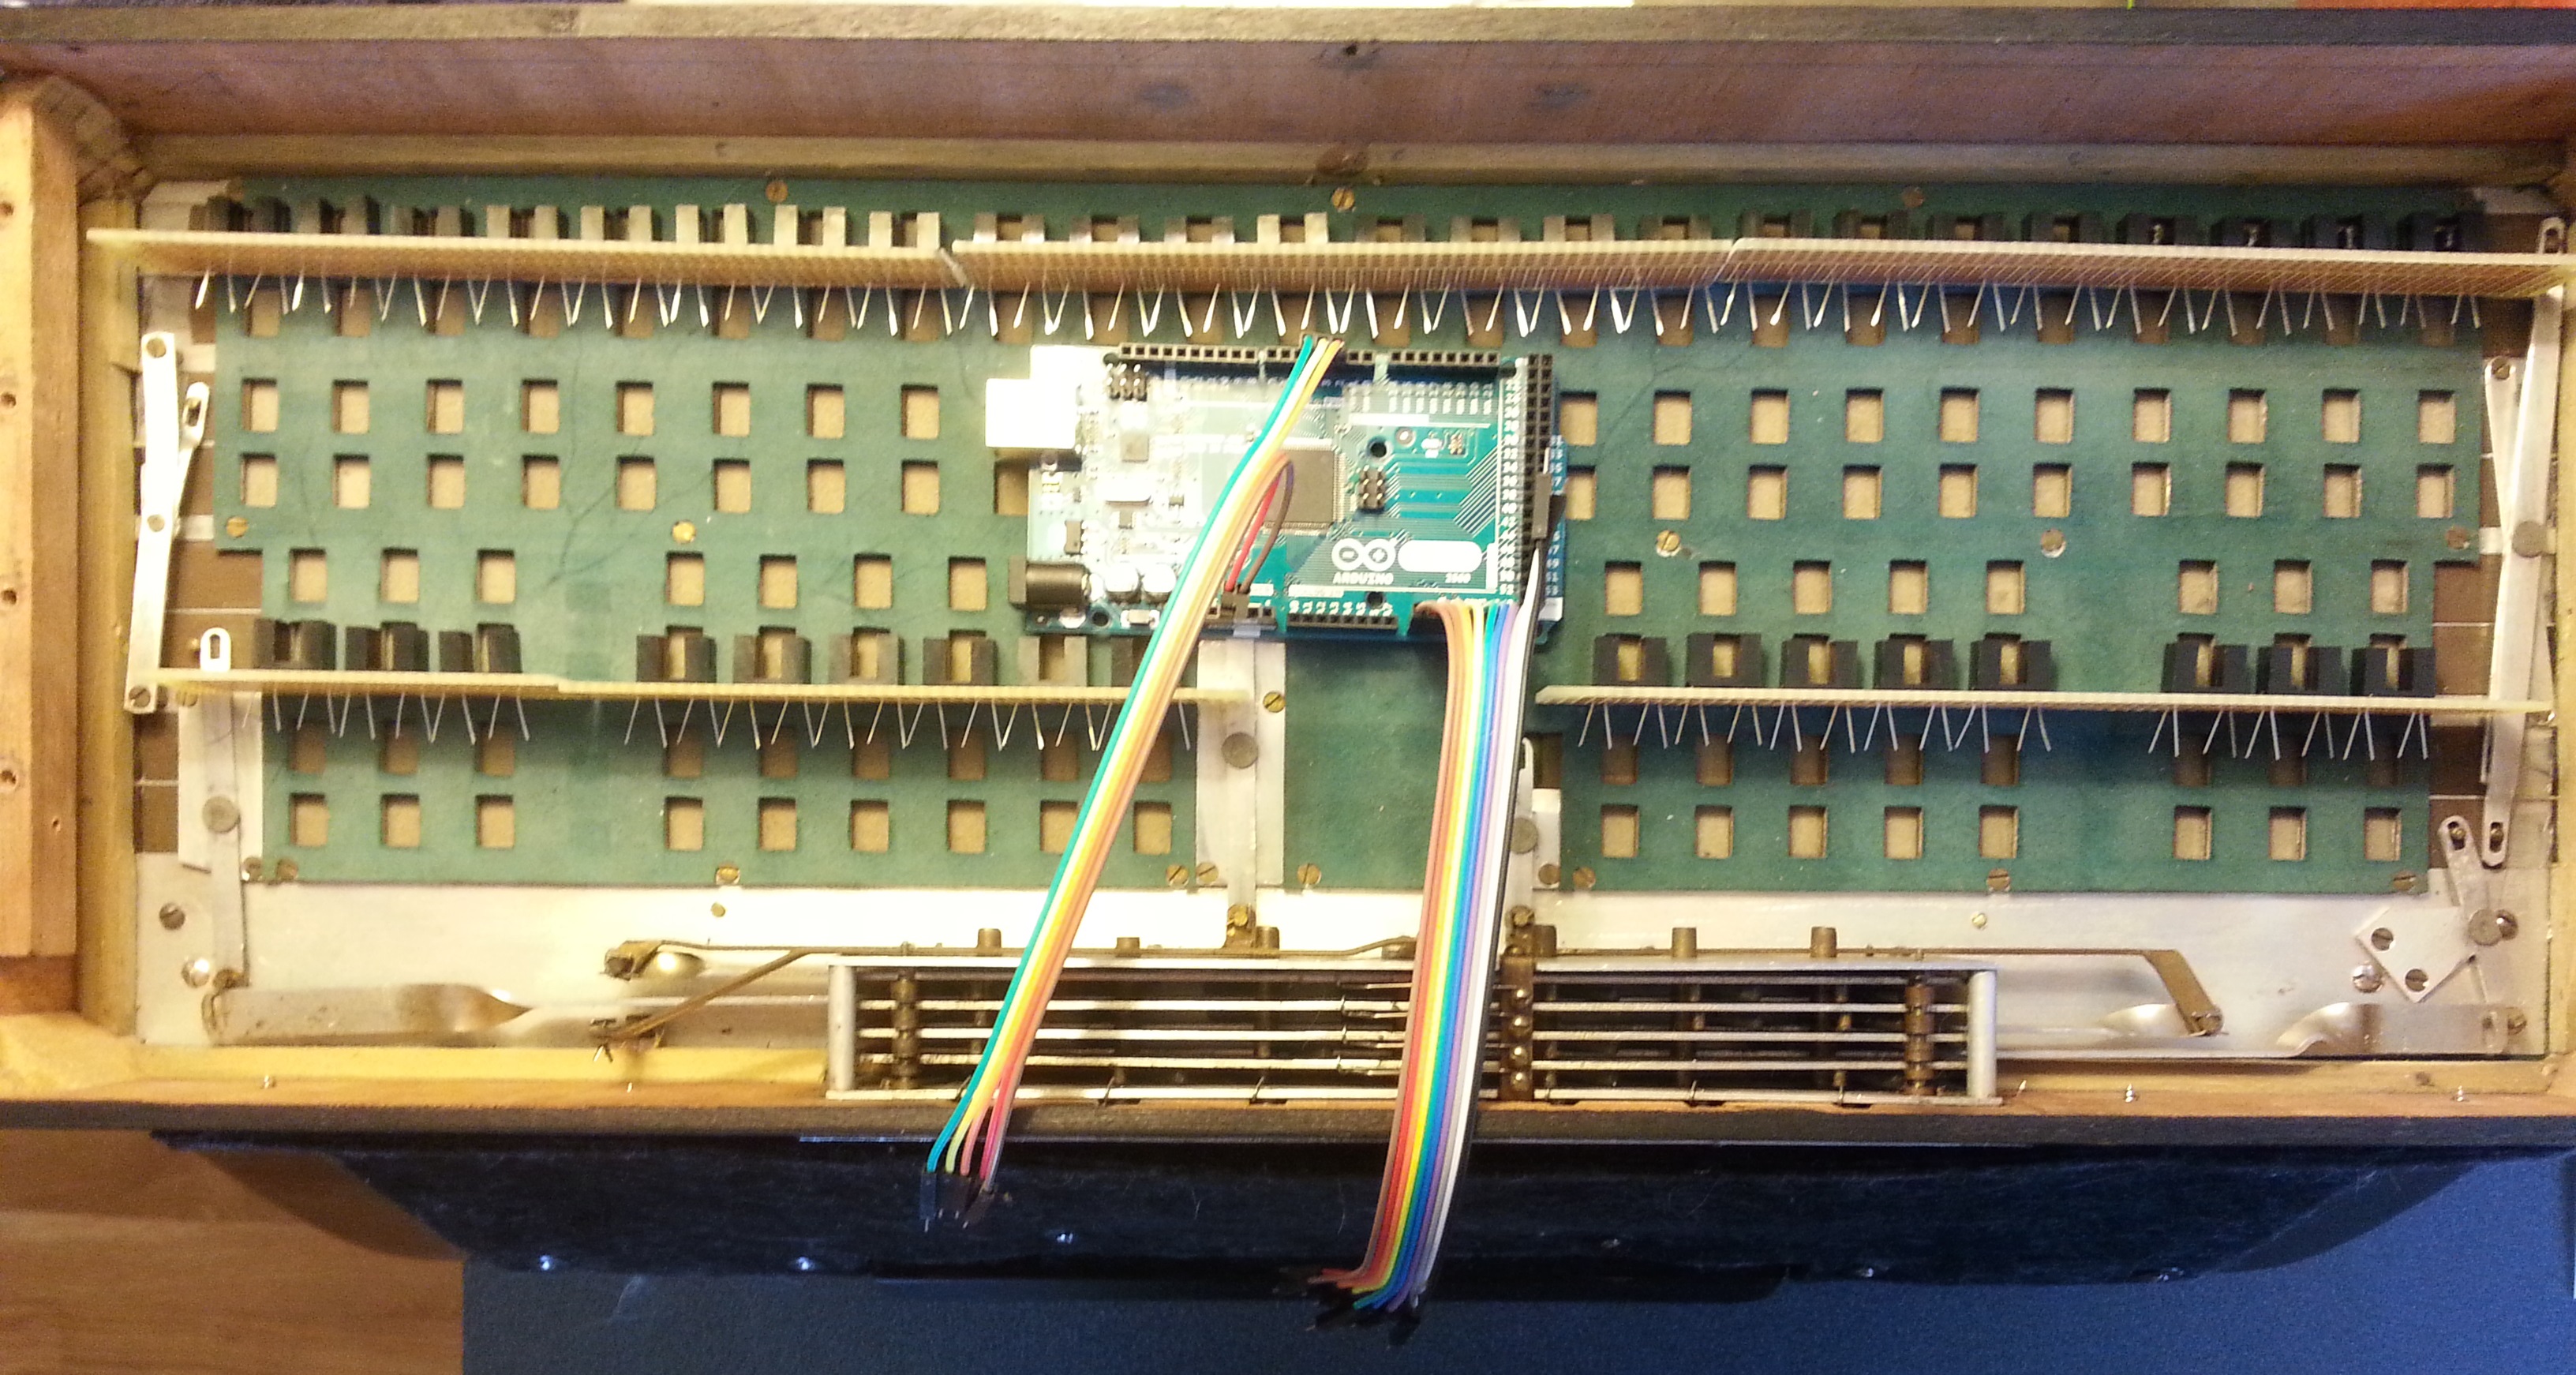
From here you should take some time to analyze the inner layout of your accordion’s key pads and determine the best way to lay out the circuits for the opto-interruptors. Also decide where you want to place the Arduino Mega (I chose the middle of the treble side because my accordion’s layout leaves a gap in where the keypads are placed right in the center). I’ll discuss some of the options I considered for my project in the next guide.
Troubleshooting
“I can’t find an accordion I want (at a price I want to pay).”
- Be patient! I searched online for about 4 weeks before I found an accordion in my price range that I was happy with. eBay gets new accordions all the time, so check frequently.
“I want to attach blockers under the keys, but I can’t unhook the register buttons.”
- I was lucky enough to be able to disable the register button triggers by hand, but you may need to use more force than I did to unhook yours, which may require dismantling or even destroying the connectors. Another option could be to render the triggers immobile by means of taping or gluing them in place - this, of course, could also damage the accordion. Use your own discretion and decide what you’re willing to do to your accordion.
Credit
Thank you to:
- Tony (last name unknown) for making a super helpful tutorial on Disassembling an Accordion Bass Mechanism
- George Bachich for compiling an extensive source of accordion repair information on the Accordion Revival page