Goal
Assemble all of the circuit boards to the accordion and wire them together.
The Problem
This is it - it all comes down to this. Once you have everything soldered all that’s left is to put everything in place and wire it all together.
Disclaimer: The accordion is not a standardized instrument - they vary greatly in how they are manufactured, so the inner workings can be different from accordion to accordion. That being said, take this guide with a grain of salt, as not all of these instructions may exactly apply to your model of accordion. Also, this guide assumes you’ve chosen to attach blockers on the inside of the accordion (unless otherwise specified).
Solution
Putting it all together
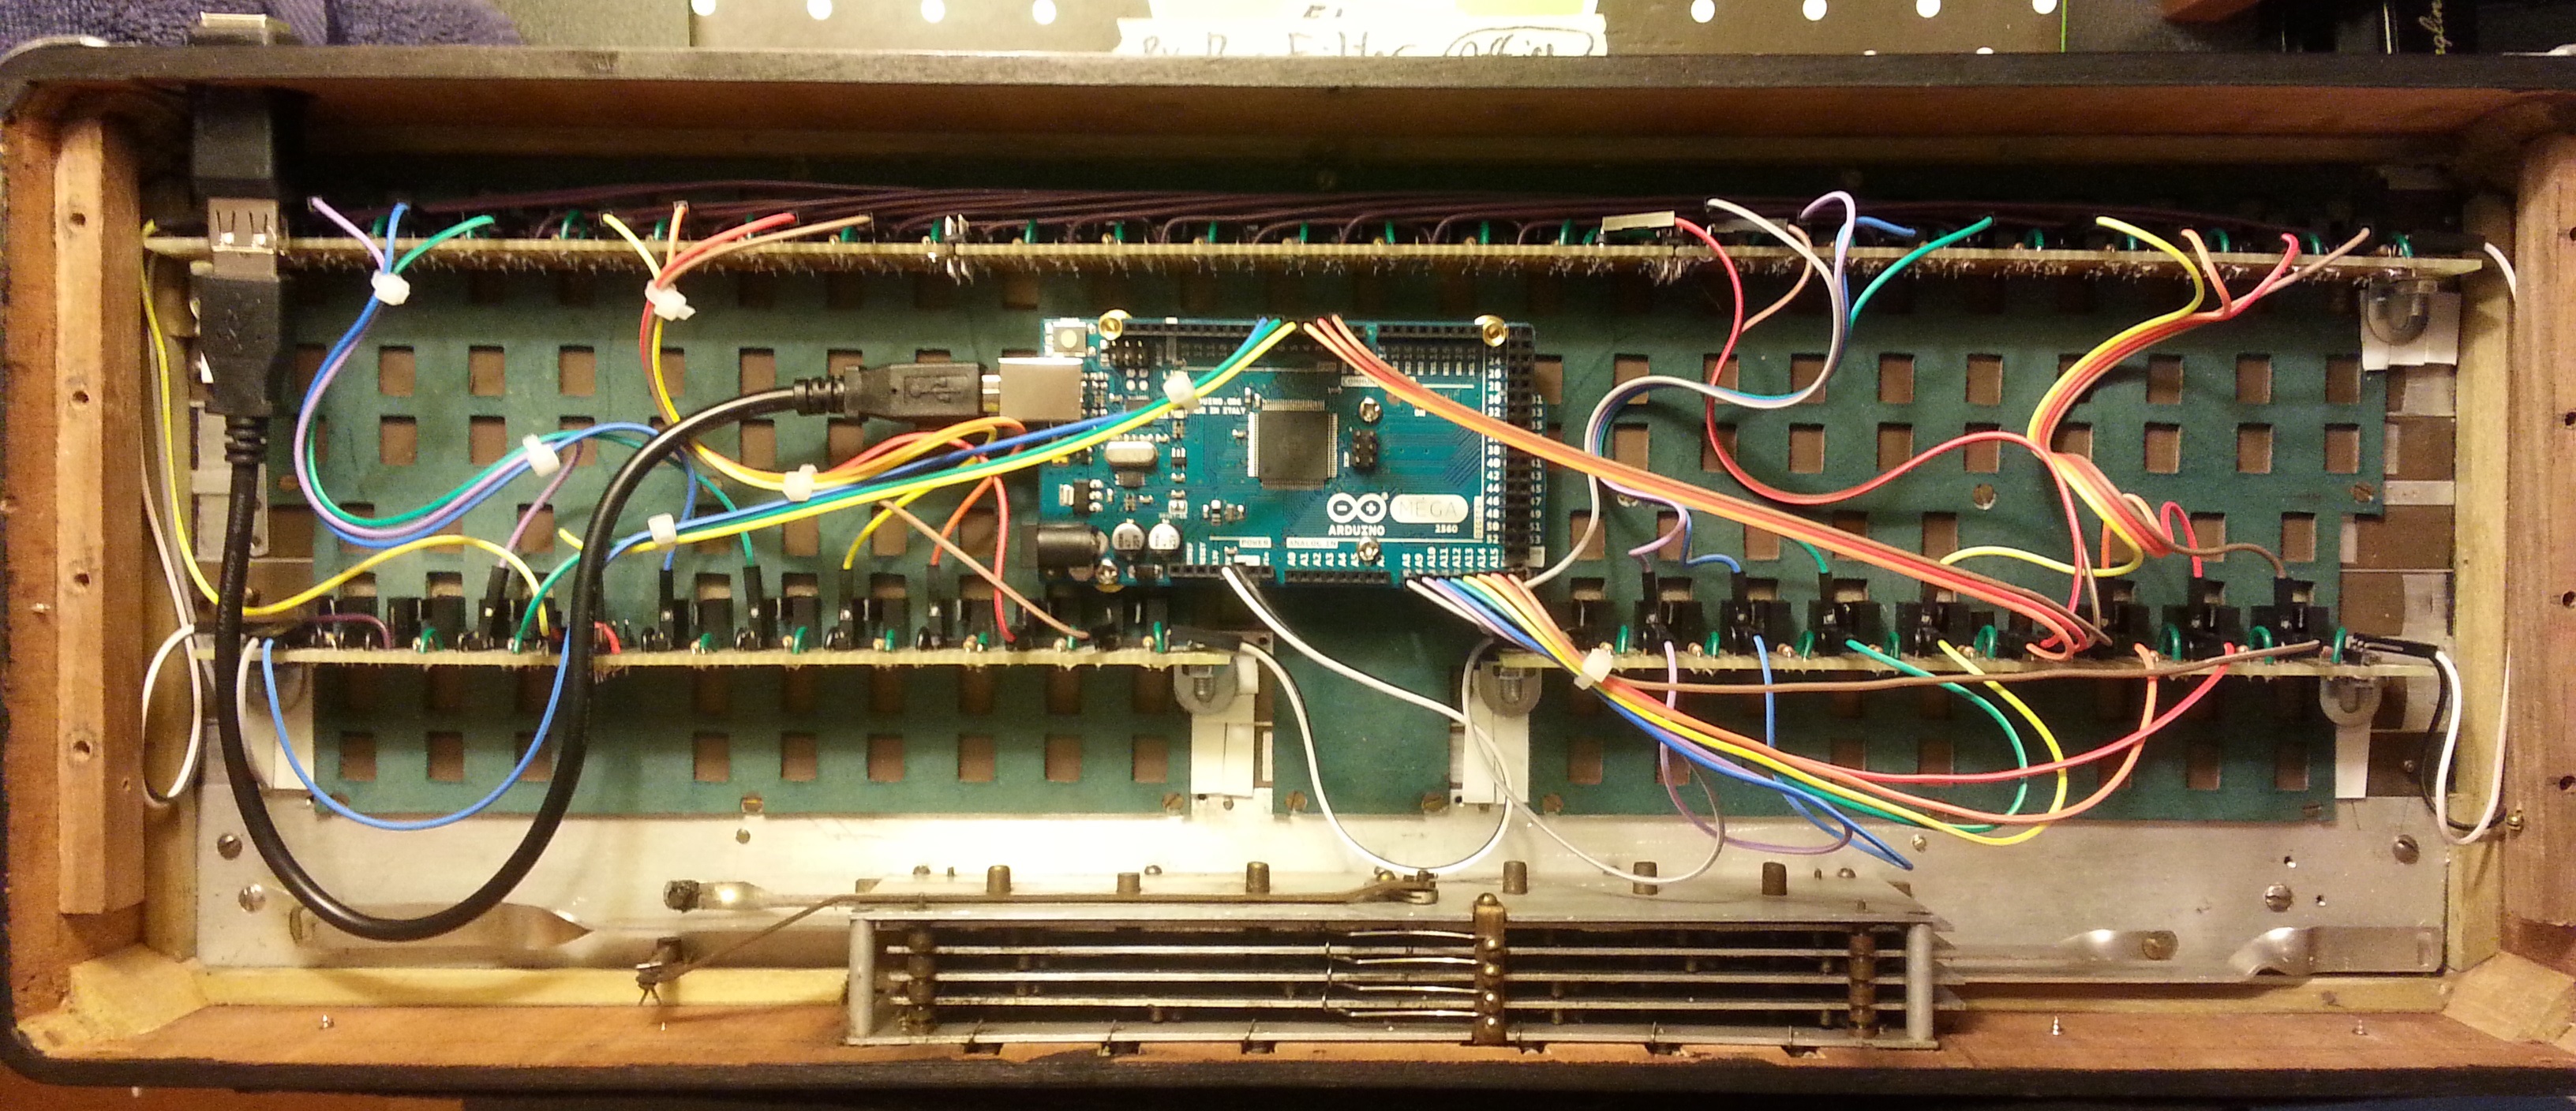
Once you have a solid draft for your components and you feel good about it, it’s “go” time. I’m not going to go into the ins and outs of soldering and wiring (there are plenty of resources online to help you if you need it), but I will include what I think are a few helpful tips that are specific to this project:
- Do the left hand first.
- There’s a lot less that needs to be wired (24 keys instead of 41), and the keys are spaced farther apart, so it’s a significantly less daunting task to complete the left hand vs the right hand. Once the left hand is complete, you should feel comfortable enough with what you needed to do to get that side working to tackle the right hand.
- Make sure everything fits
- I thought I lined up all my PCBs perfectly, but when it came time to finally solder components on I realized they were too close, and I had to desolder and move around some things. Leave ample room for everything.
- Test connectivity as you go.
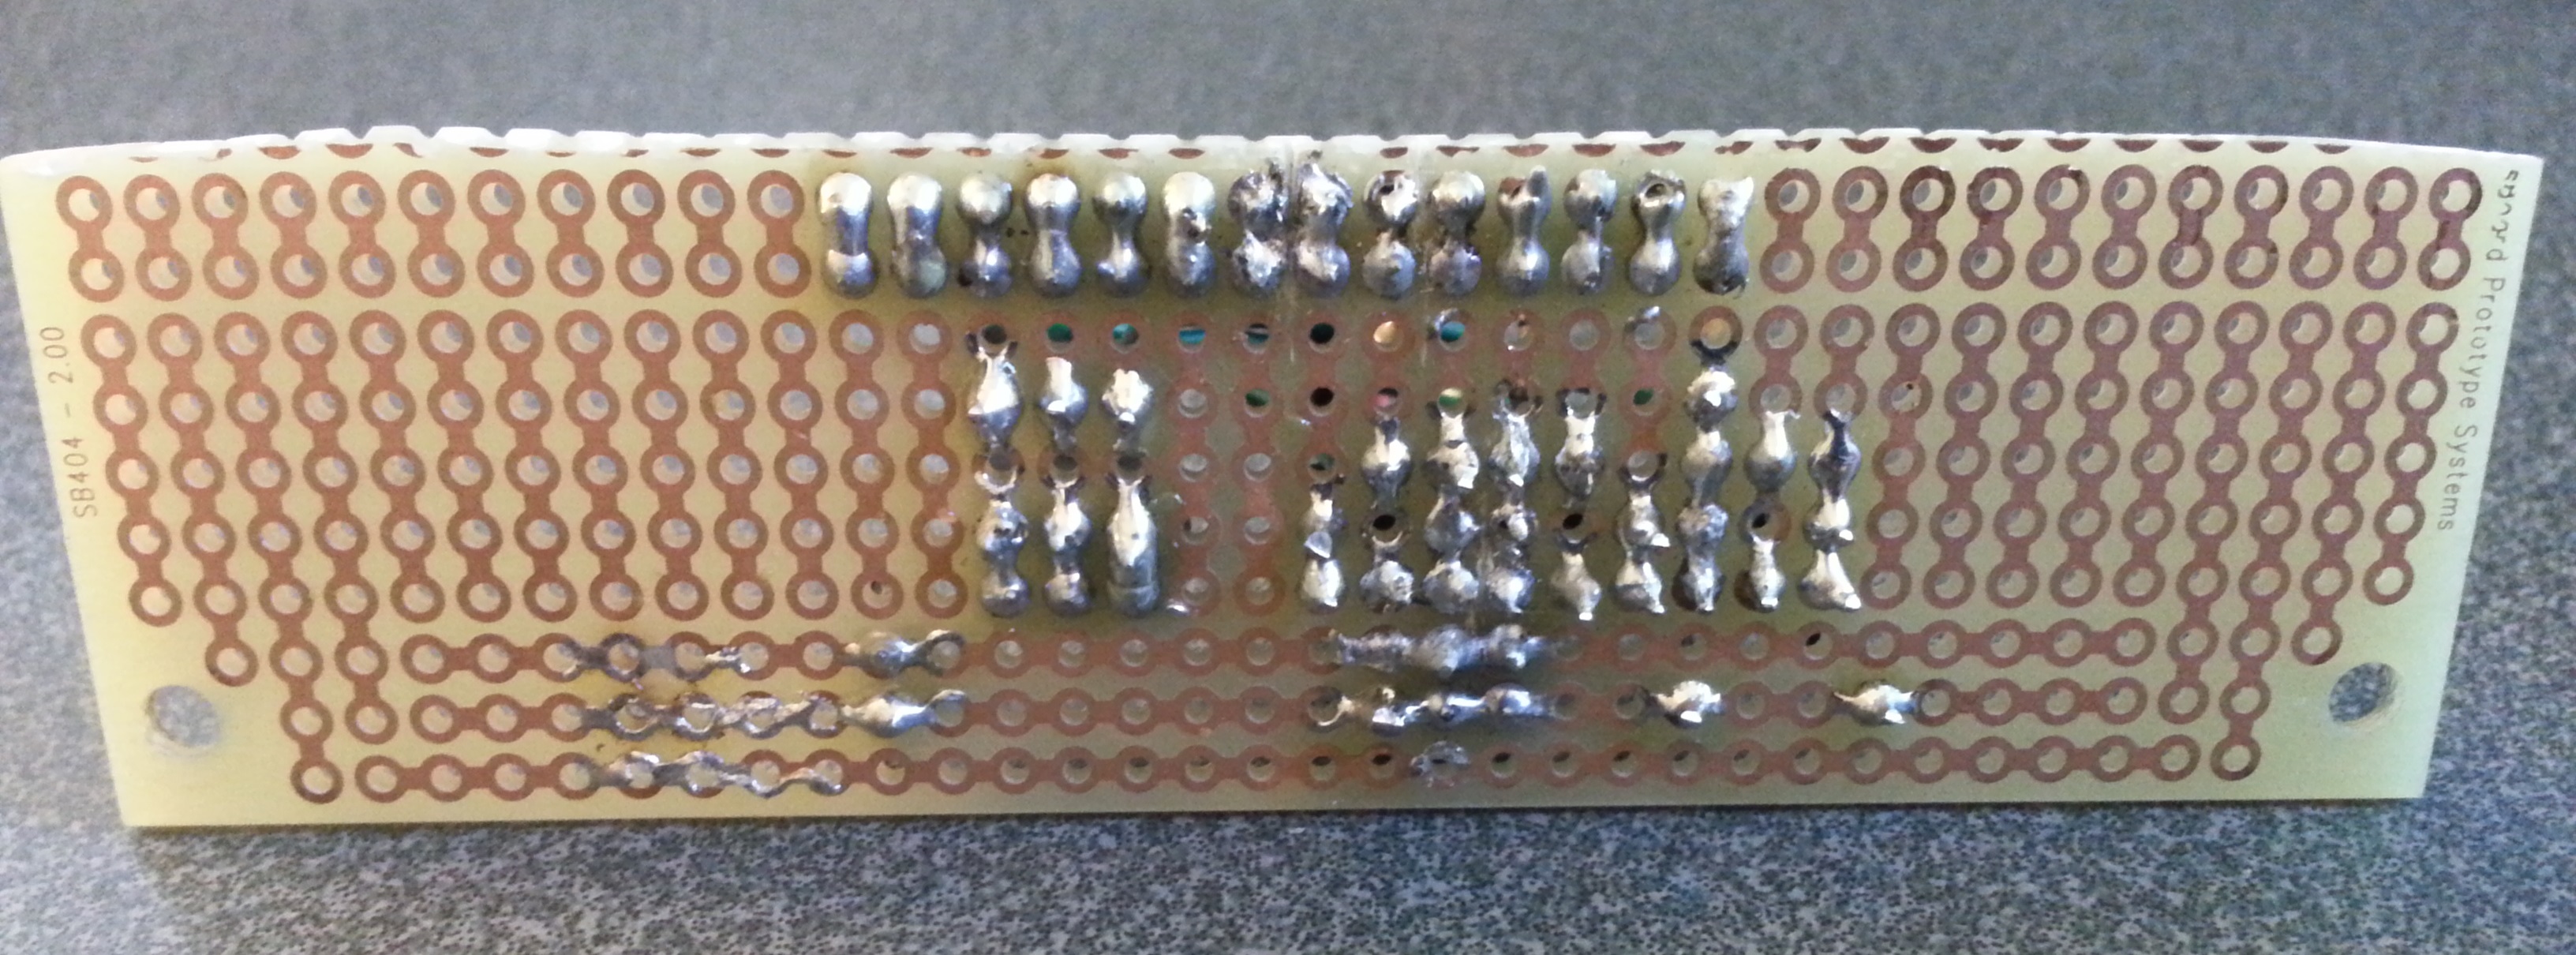
- The multi-meter is your friend. Be sure to test frequently that every pin of every component is soldered properly, meaning that it makes a solid connection to the parts you want and, more importantly, doesn’t make a connection to the parts you don’t want. The way I cut my PCBs it was easy to do this every 6-8 interruptors or so. Additionally, I set up the PCBs in a way that was easy for me to hook up to the Arduino at any time to test input.
- Always check your code first; software is much easier to change than hardware. I found that out the hard way after I resoldered several components I thought were broken just to find out that I plugged them into the wrong Arduino pin.
- Give your wires some slack.
- This is especially important for the wires connecting the left and right hand if you plan on using the bellows. I recommend at least 16 inches of slack for a full-size accordion. Also, you may find as you’re putting everything together that you may want to rearrange where you put some of your components, so having that flexibility is helpful.
Adding the USB Port
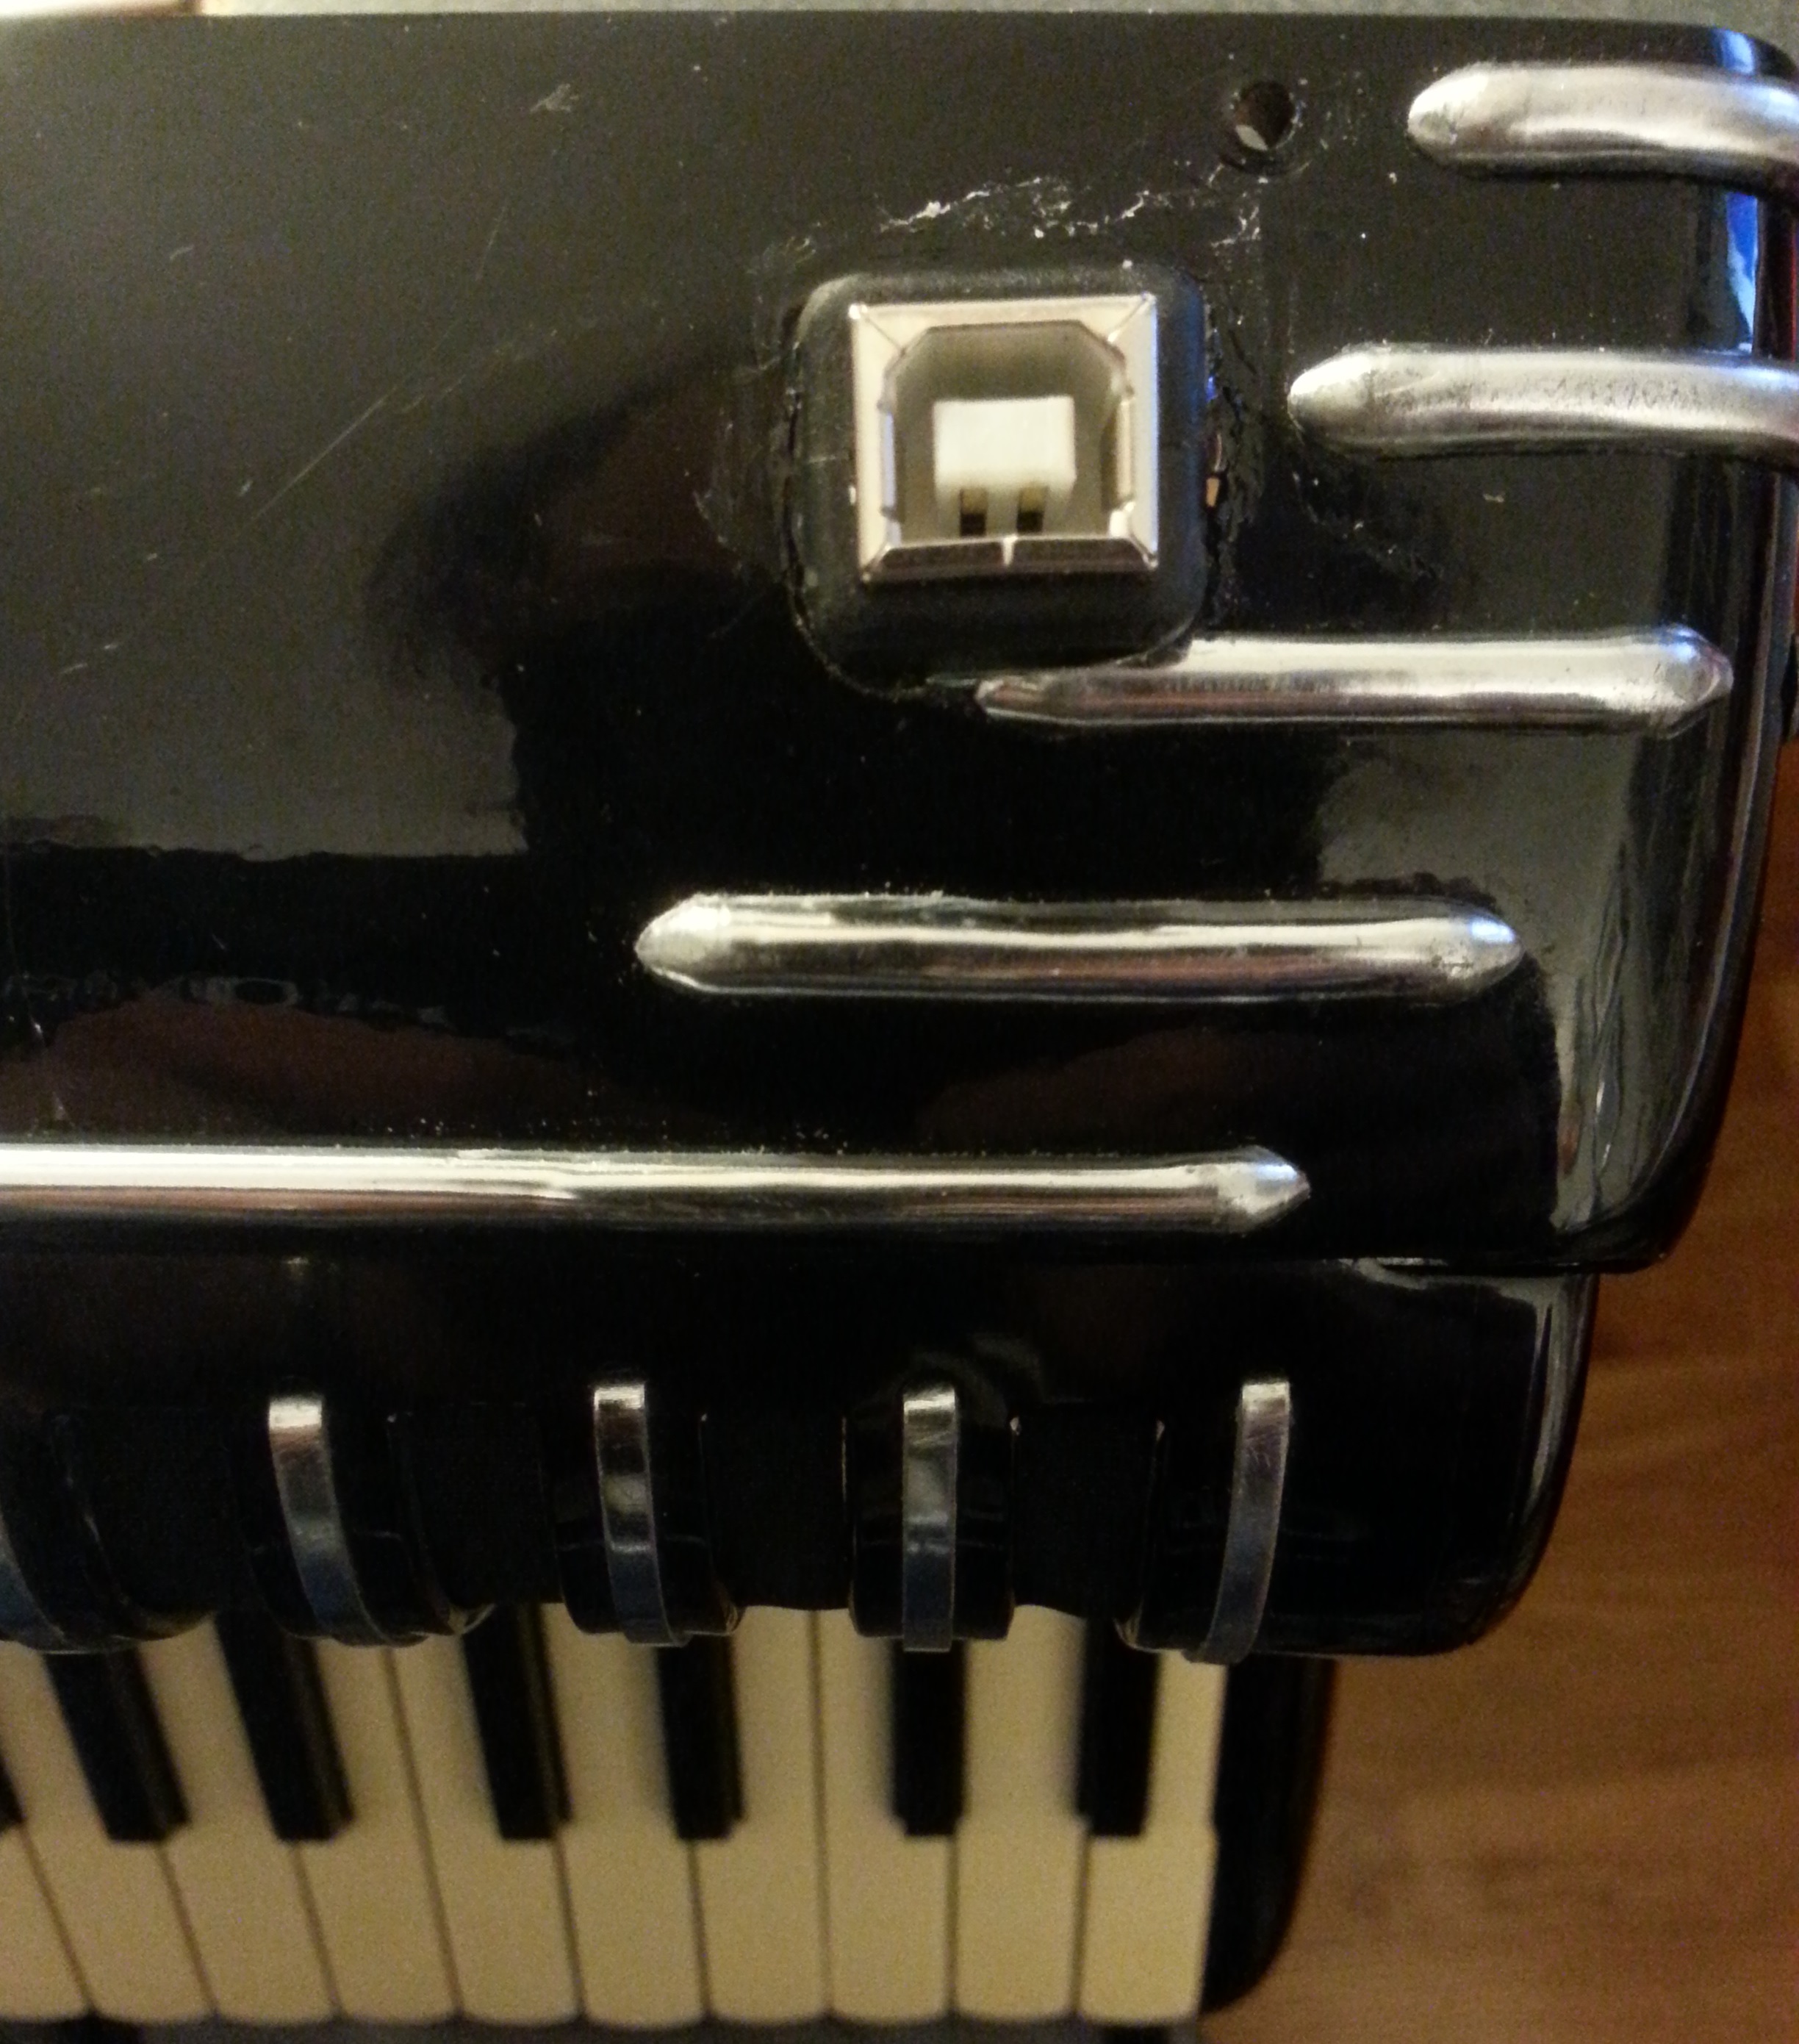
Even if you plan on making your MIDI Accordion wireless, adding an external USB port that lets you connect the Arduino to the computer without having to open up the accordion is a significant convenience. The specifics on how to do this will vary greatly from project to project, but the general idea is:
- Drill/cut a hole somewhere in the accordion where you can place the USB port without getting in the way of other circuitry.
- Adhere the USB port into the hole such that the Arduino can connect to the inside and the computer can connect to the outside.
Testing
Once everything has been soldered, mounted, and wired, the final step is to test everything.